Author

The Bead Shop

28/06/2013

How to use Memory Wire – 3 Jewellery Design Ideas

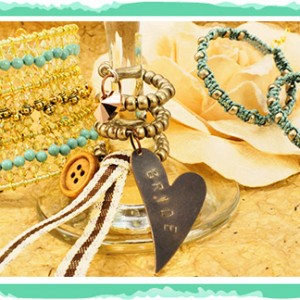
In a nutshell  Memory Wire is an alloy that remembers its original shape when stretched, making it a beautifully forgiving material to work with. You can squeeze it, pull it or twist it and the flexible little loops will bounce back into shape with no questions asked.  Upon opening the packet Memory Wire will resemble a ‘Slinky’ Toy. Wine Glass Charm Macramé Wrapped Earrings Boho Fluted Bangle   assembling the structure. We have used 2 x 4mm Luminous Green Swarovski Bicones and 1 x 4mm Turquoise Swarovski Pearls on each pin.... Read More
26/06/2013

How To Make a Chunky Pearl Weave Necklace

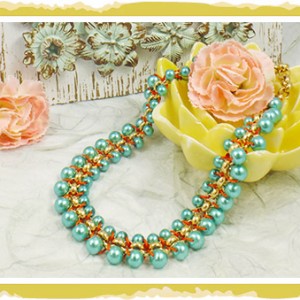
  Learn how to make this fun and funky necklace is made up of glass pearl beads, large belcher chain and brightly colored Chinese knotting cord. Techniques Opening and closing jump rings and making loops Tools Round nose pliers, flat nose pliers, chain nose pliers, cutters and a bead reamer. Level Beginners Follow step-by-step instructions  Helpful Links Fran Perry In House Designer         Products Used 1m Extra Large Belcher Chain – Gold Plated 72632 strings 8mm Round Glass Pearl beads – Jade Green 121641 string 6mm Round... Read More

17/06/2013

How To Make Romance Beaded Heart Pendant with Swarovski Bicones

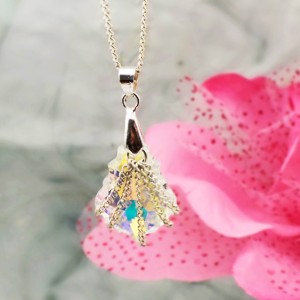
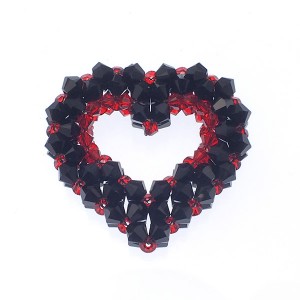
To make this romantic heart pendant you will need to use this advanced bead weaving technique, that we have explained for you below.  To get its gorgeously sparkly finish we have used Swarovski Crystals and when you have completed your design, why not finish it off by adding it to a simple chain or ribbon. PLIERS NEEDED 2 Size 10 beading needles Scissors Step 5 Do this another 5 times, swapping the needles over while pulling each section tight. All the 3mm Bicones should be on the same side to create... Read More

14/06/2013

How To use Yellow in Your Earring Designs

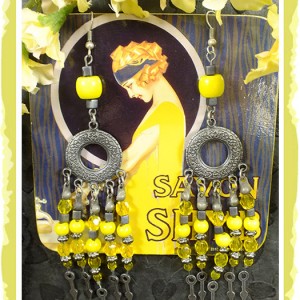
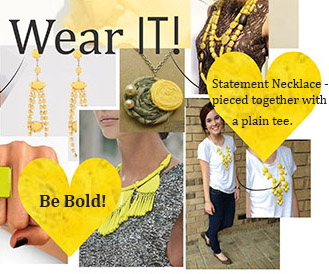
  Yellow is my absolute favourite colour, it’s bright, cheerful and brightens up my day. I am completely drawn to it, therefore I wanted to create a piece of jewellery that stands out and represents my kind of yellow – bold and bright. There is nothing tacky about this yellow, so to complement it I chose to mix it with antique silver findings so as not to cheapen it with anything to bright. I decided upon creating a pair of statement earrings to show off this brilliant colour. I also... Read More

07/06/2013

How To Use 7 Strand Beadalon Crinkle Wire

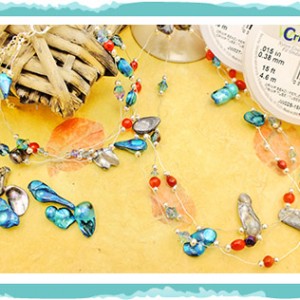
I decided to go for a mixture of Teal and Peacock because the beads are all different shapes and sizes, so the contrast would work well. With a beach theme in mind, I can definitely imagine wearing these on holiday with a lovely tan. I have combined 3mm sea bamboo semi-precious beads with 6mm Czech faceted beads in shades of Pink/Blue Green and the Purple Iris/Aqua. These are mixed with 6mm Round Polaris style beads in Matte Red colour. To represent the sea I decided to choose a new Swarovski ... Read More

05/06/2013

Be Inspired – Summer Floral Necklace

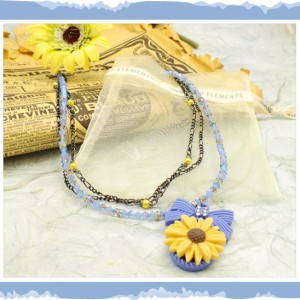
Recently, I’ve been overwhelmingly drawn to blue tones and as this month’s jewellery brief was summer floral and pastels I thought I’d use this opportunity to take a step out of my usual colour comfort zone. Initially, I thought  the air blue opal and the x2 coated light sapphire AB Swarovski bicones teamed with the antique silver Figaro chain looked a little ‘Ice Queen’, but after I incorporated yellow glass pearls and a sunflower cameo, the piece was brought right back into summer. I love combining the sparkle of Swarovski... Read More

03/06/2013

How To Make a Purple Tanzanite Beaded Bracelet

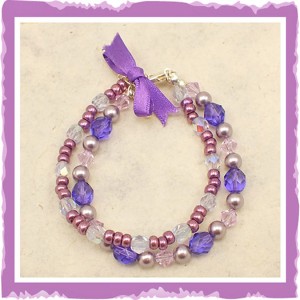
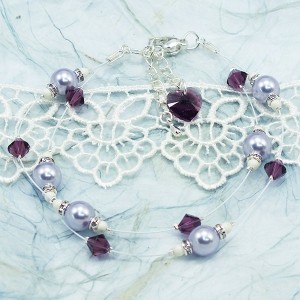
If you’re new to jewellery making, then do not worry, this bracelet is perfect for beginners as we will explain all the essential techniques and teach all the skills from scratch. Once you have mastered this bracelet, you will have the knowledge and skills to be able to start making and designing your own jewellery. Techniques Attaching a clasp, opening a jump ring, Attaching a callotte Tools Wire Cutters, Flat Nose, Round Nose Follow step-by-step instructions    Step 1 Cut a piece of Tigertail approximately 25cm long and attach a calotte to one end.  Now thread on your... Read More

31/05/2013

How To Set Up Your Beadalon Beading Loom

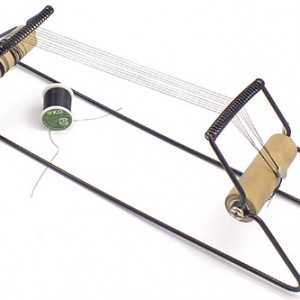
I’ve never used a beading loom before so I was interested to see how easy it would be to weave a beaded bracelet and more importantly to set up the beading loom! The device looks very daunting when you get it out of the box and I had to read through the instructions a couple of times but I’m pleased to say that it wasn’t too complicated to set up. When you take the beading loom out of the box, the wooden bobbins, screws and wing nuts were already in place and tightened. Loosen these... Read More

21/05/2013

Be Inspired – Wedding Cake Topper

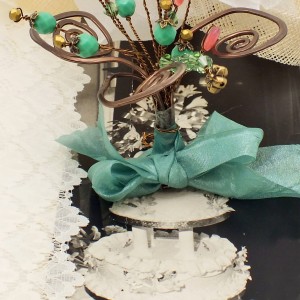
Cake Toppers are a lovely addition to your personalised wedding theme. Using Craft wire, pearls, crystals or whatever takes your fancy, cake toppers are quick and easy to make and can be coordinated to the colour scheme of your big day.  This particular design was inspired by Linda Jones project which can be found in ‘Wire & Beaded Wedding Jewellery’.  Products Used Swarovski Crystal Bicones Swarovski Pearls Craft Wire Glass Beads Metal Beads Fran Perry In House Designer

20/05/2013

How To Make a Purple Passion Wedding Bracelet with Swarovski Crystals

Description Create this simple but beautiful Wire bracelet, perfect for the bride or the bridesmaids, it is made up of Swarovski crystals and pearls, Diamante Rhondells, Silver rose colour  Beadalon wire, and silver plated findings. Techniques Crimping, opening and closing jump rings Tools Two flat nose pliers or chain nose pliers, crimping pliers (optional) and wire cutters. Level Beginners   Follow step-by-step instructions Step 1 Cut two pieces of beadalon, thread both ends into one of the EZ crimp ends and squeeze either side of the crimp with flat nose... Read More

17/05/2013

How To Make a Beaded Kumihimo Bracelet with Seed Beads

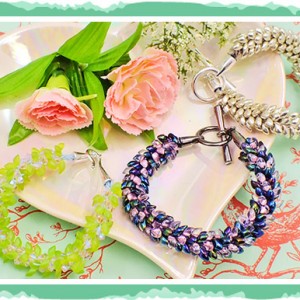
Using the Miyuki Long Magatama seed beads, you can create this beautiful Kumihimo snake like bracelet. It is made exactly the same as the beaded Kumihimo with Swarovski or the round Miyuki seed beads.   Emily Kersh In House Designer       HelpFul Links Simple 8 Kumihimo Braiding Technique

16/05/2013

How To Use Faux Suede in Jewellery Making

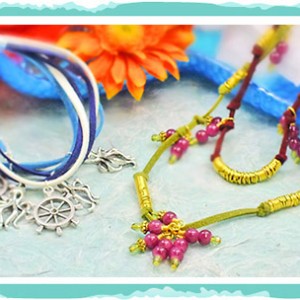
We have created a simple nautical themed bracelet using multiple strands of faux suede attached together in a readymade bell closer fastener. Upon the strands of faux suede hang little octopus and ship wheel charms, attached with jump rings. In keeping with the summer vibes  we have also made a necklace  that would be perfect for accessorizing on the beach or even layering up with other jewellery for evening wear. Here we have used 6mm glass beads, Tibetan style spacer beads, along with Jump rings, for a more bohemian style.... Read More

15/05/2013

Beat The High Street – A Woven Pearl Necklace from TopShop.

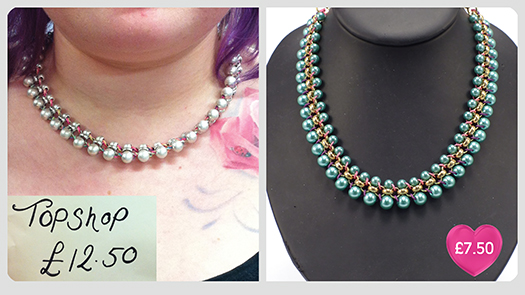
For this months ‘Bead the High Street Challenge’ we chose a woven pearl necklace from Topshop. The High Street version was made using plastic pearls and chain. We decided gave ours more punch, combining sprayed glass pearls with a large gold ‘Belcher’ chain. The pearls are woven through each link using Chinese Knotting cord or ‘Shambala’ Cord. For a playful summer look, try choosing thread that clashes with the bead colour. Citrus and Neons work best, but this versatile design can be adapted to suit any style. Helpful Links Glass Pearl... Read More

14/05/2013

Be Inspired – Baroque Crystal and Chain Necklace

Our wedding inspired necklace really adds simple elegance to any evening. If you have a high neckline on your dress this is a great option as it is designed to be quite long. This is perfect for bridesmaids too. Cut 5 small lengths of chain that fit roughly around your baroque pendant and attach these onto a jump ring. The longest chain in the middle, the next length either side of this and the shortest lengths either side of that. Attach the jump ring onto one side of a bail and... Read More

13/05/2013

How To Make… Beaded Friendship Bracelet

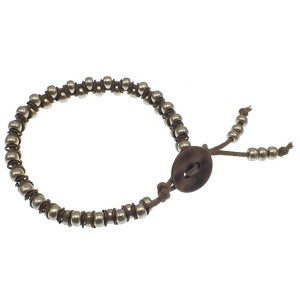
Description A new funky take on the traditional friendship bracelet. This is made using just seed beads and jump rings so is ideal for someone who is new to jewellery making. Tools No tools are needed! Level This is suitable for Beginners Follow step-by-step instructions Step 1 Pass the cord through the hole in the button so that you end up with two cords of equal length. Step 2 Tie a knot in the cord close to the button to secure it. Step 3 Thread a bead onto one cord... Read More

07/05/2013

Beautiful Spring-time inspired tiara

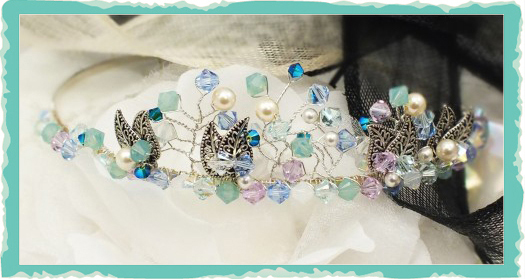
  This beautiful Spring-time inspired tiara uses Swarovski Bicones and Pearls, along with our gorgeous filigree leaf charms to create a stunning wedding look. Perfect for a bride who wants to add a splash of colour to her big day! Start by spacing the leaves along one of our round shape tiara bands, then make pearl and crystal trees with twisted wire and attach these along the band. When you are happy with the design, attach a row of crystals along the band and tweak your design until perfect. Products... Read More

02/05/2013

Exploring the world of craft wire – Jewellery Making Project

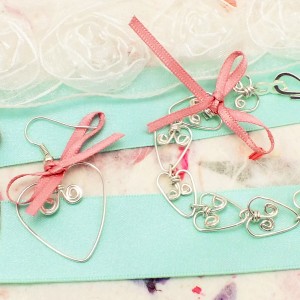
  This dainty craft wire jewellery earring and bracelet set is simple but elegant, ideal for anybody looking to explore the world of craft wire or somebody searching for something out of the ordinary. Products Needed 0.8mm silver plated craft wireHook and eye claspFishhook earwireRibbon Bracelet Earrings     Your bracelet and earrings are now complete and ready to wear, well done! Ami Milligan In House Designer

26/04/2013

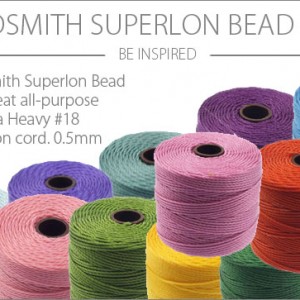
Beadsmith Superlon bead cord is an incredibly versatile

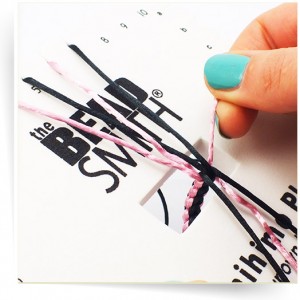
Here at The Bead Shop, we have recently expanded our range of Superlon colours so if you are looking for a bright, a neutral or and pastel colour, we’re bound to have it. Beadsmith Superlon bead cord is an incredibly versatile and durable cord that can be used for projects such as, Kumihimo, braiding, bead crochet, and micro macramé jewellery. The best thing about this cord is that it comes in so many colours! One technique that Superlon bead cord can be used for is Kumihimo. This technique is all the rage... Read More