
Beginners Guide: How to make Seed Bead Bracelets on a Loom
Discover how to make stunning seed bead jewellery using a loom. This beginner-friendly guide walks you through the basics of loom beading step by step.
If you’re looking to dive into the world of beaded jewellery making, learning how to use a bead loom is the perfect place to start. Bead looming is a fun and rewarding craft that lets you easily create beautifully intricate designs—even if you’re a complete beginner. Whether aiming to make custom bracelets, necklaces, or decorative pieces, a bead loom provides the structure and precision you need to bring your creative visions to life. In this guide, we’ll walk you through the essential steps of bead looming for beginners, from setting up your loom to finishing your handmade jewellery so that you can get started with confidence and creativity.
Turn tiny beads into wearable art! This step-by-step guide will walk you through the foundational setup and methods to ensure accuracy and consistency from the first row.”
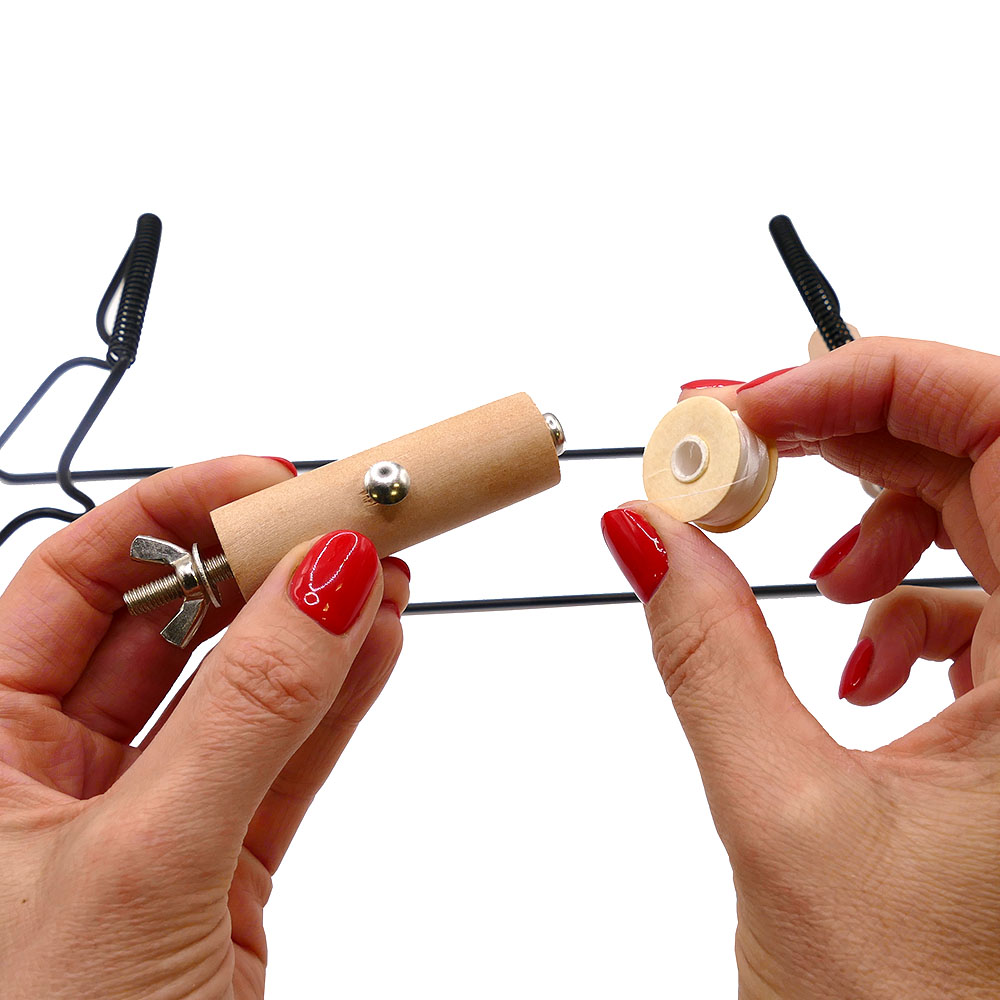
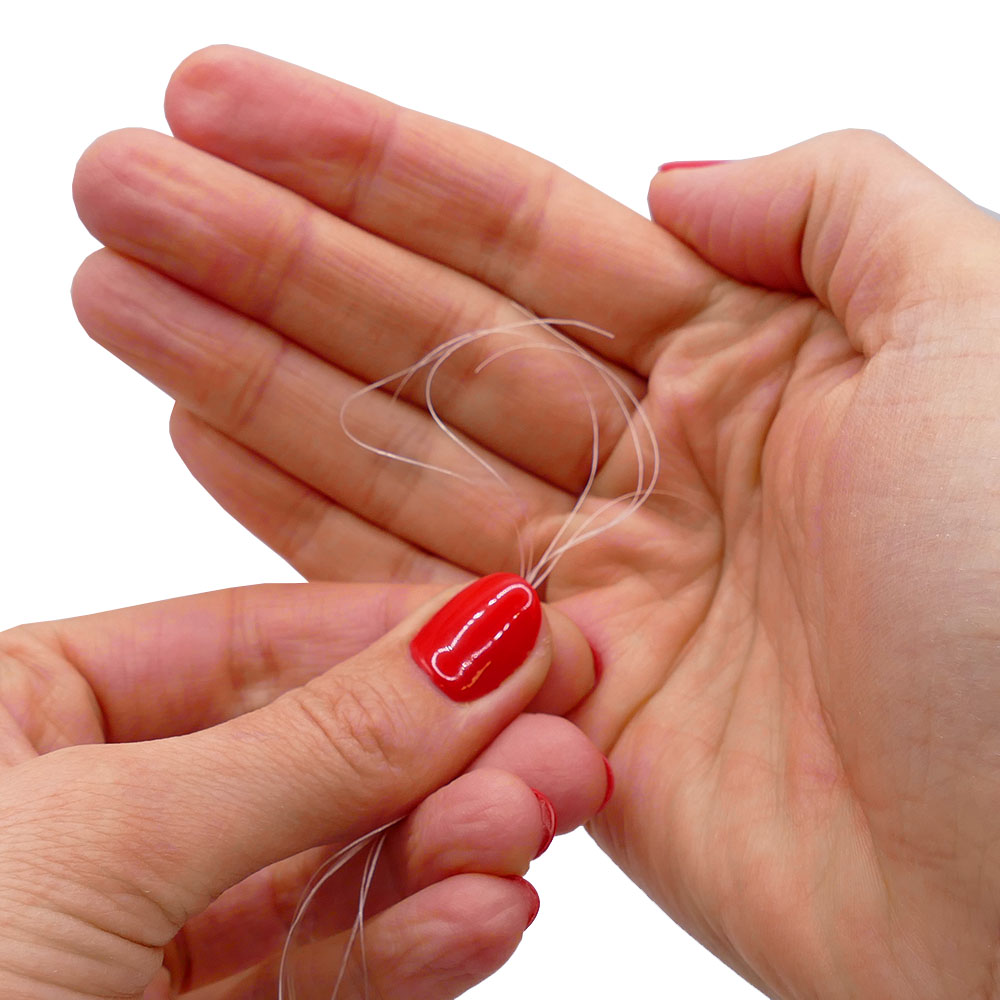
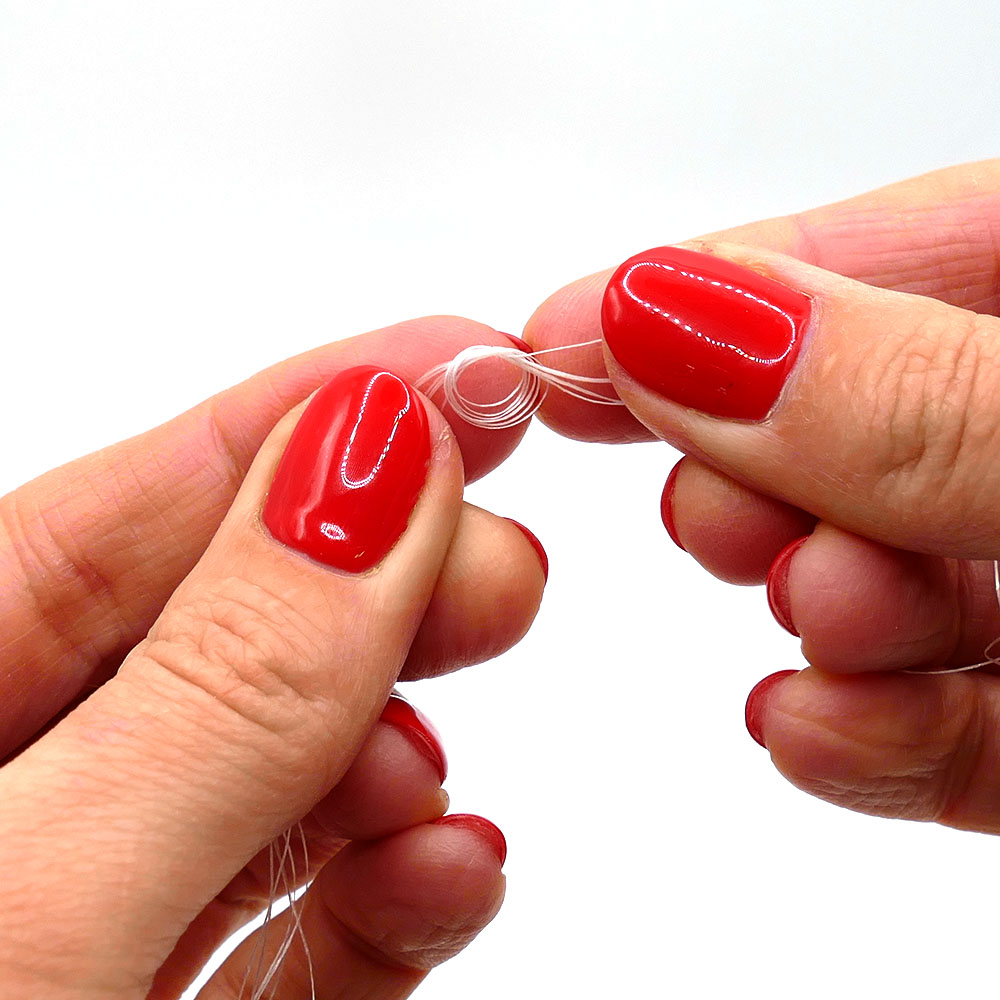
You will need:
Nymo Thread Size D or Fireline 4lb,
Size 10 or 11 Beading Needles (either will do).
To begin, cut 6x 1 metre lengths of thread. Gather the ends together and secure them with an overhand knot.
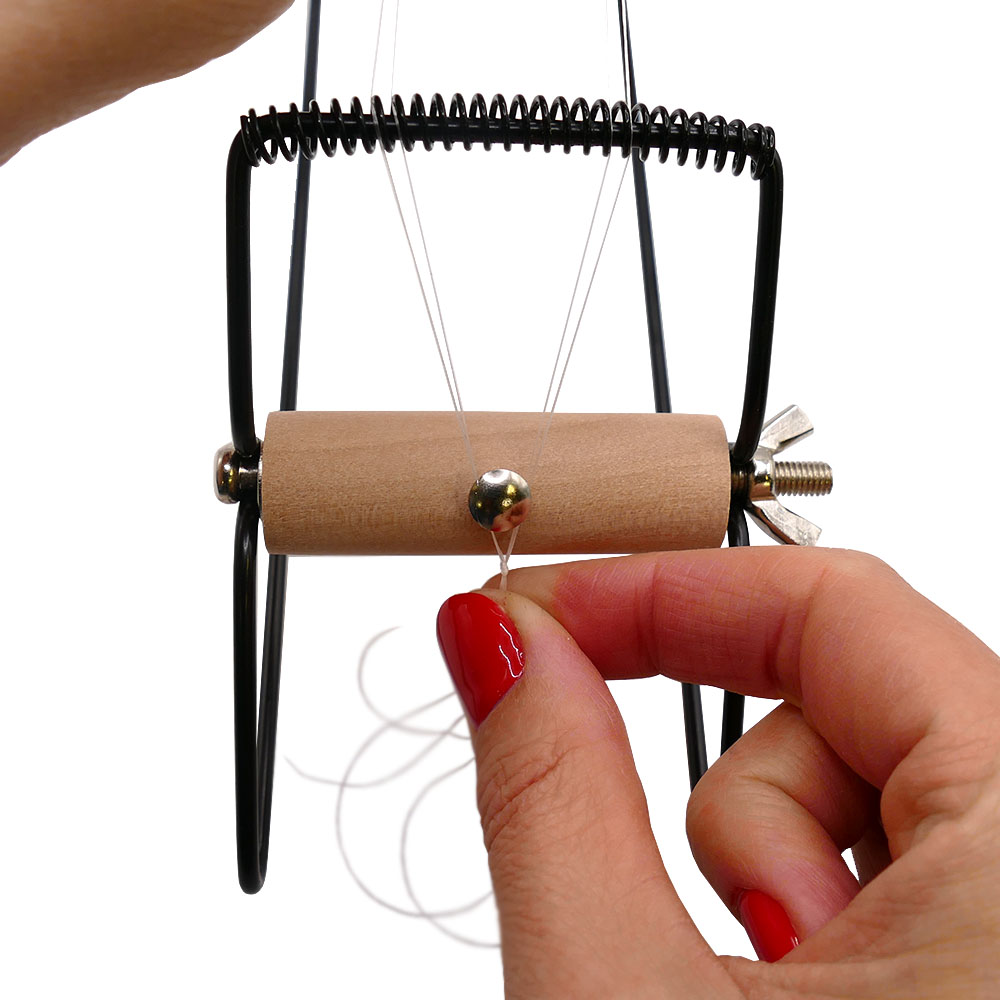
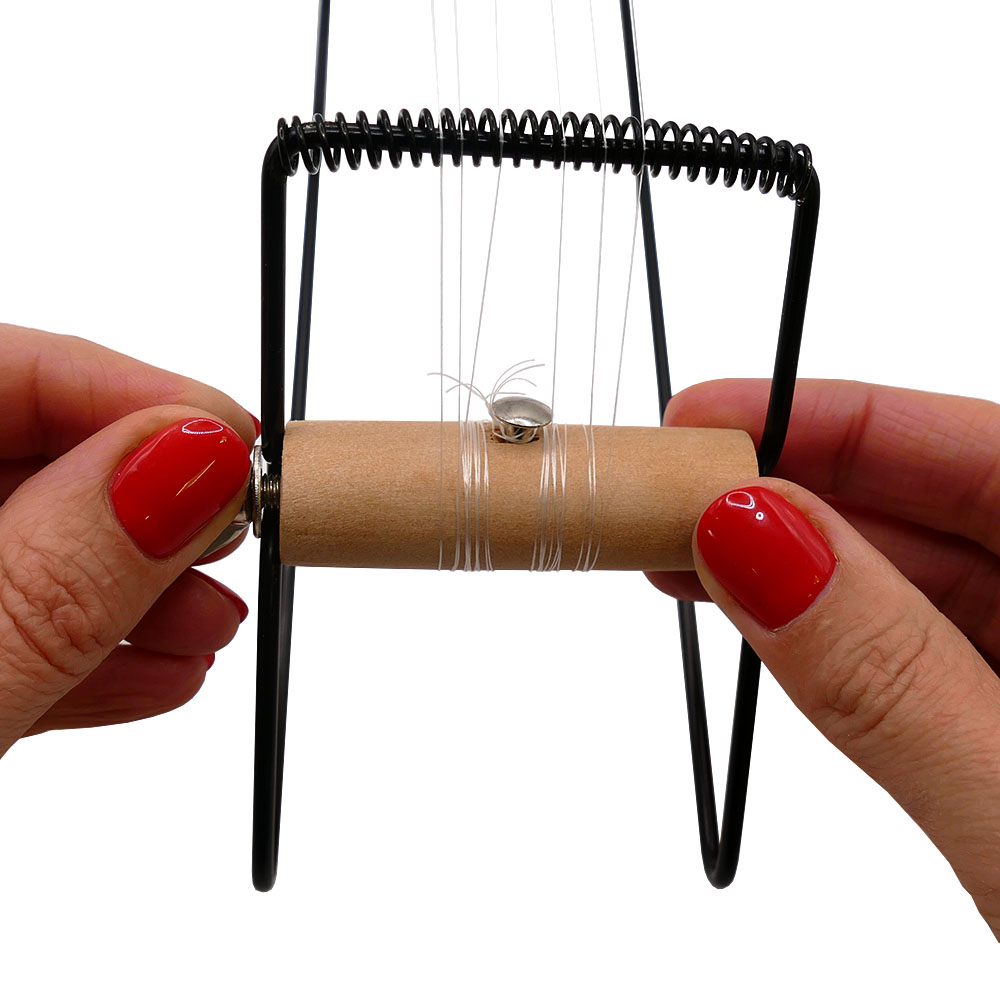
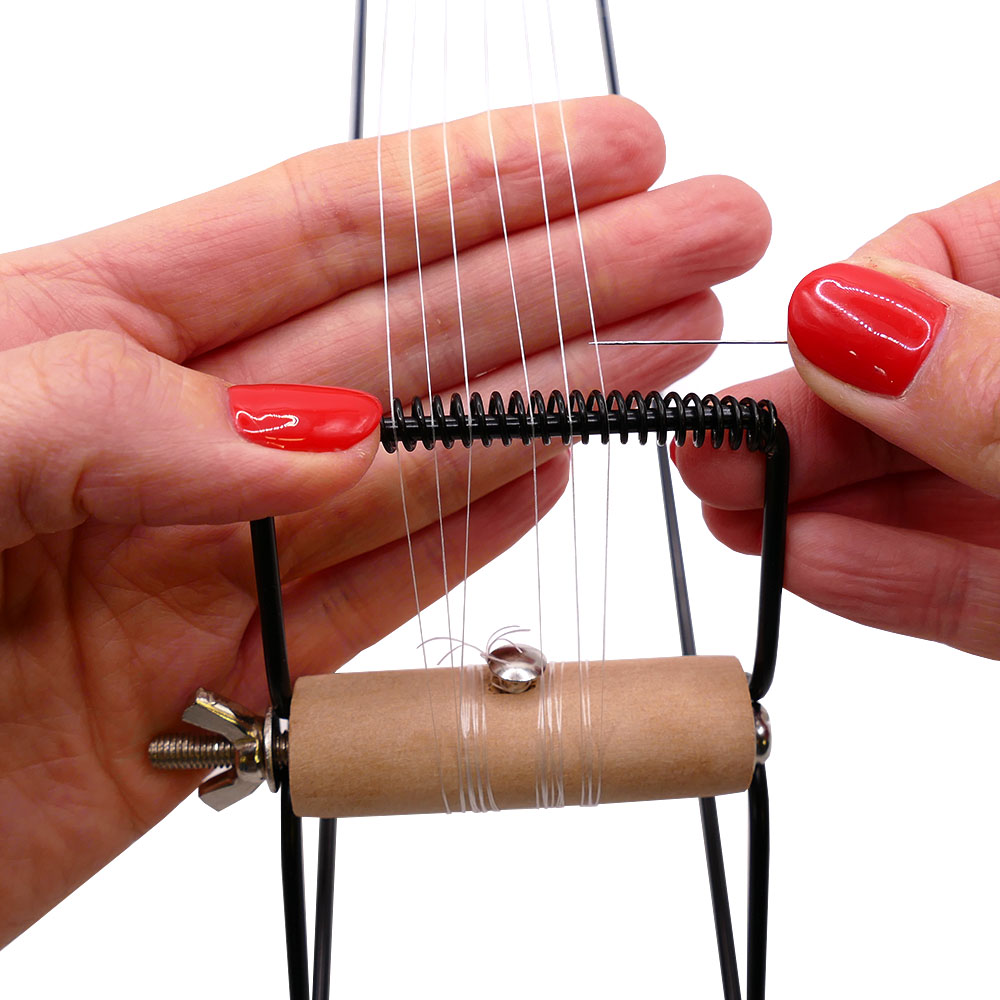
Split the threads in half with three on each side and place the knot under the screw head of the first spool. Wrap the threads around the spool once to create excess, then repeat this process on the opposite side.
Once your threads are in place, use your needle to space them out on the loom. Leave two coils between each cord and ensure the threads are pulled taut.
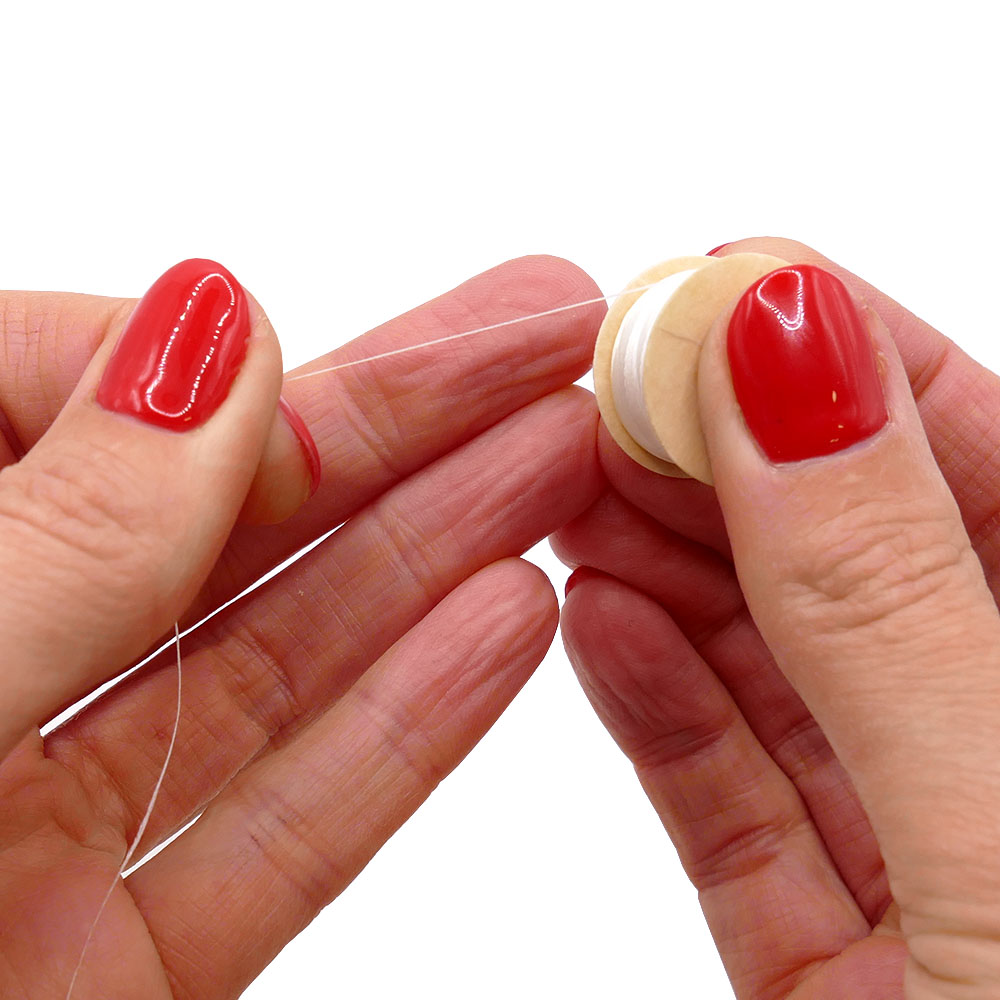
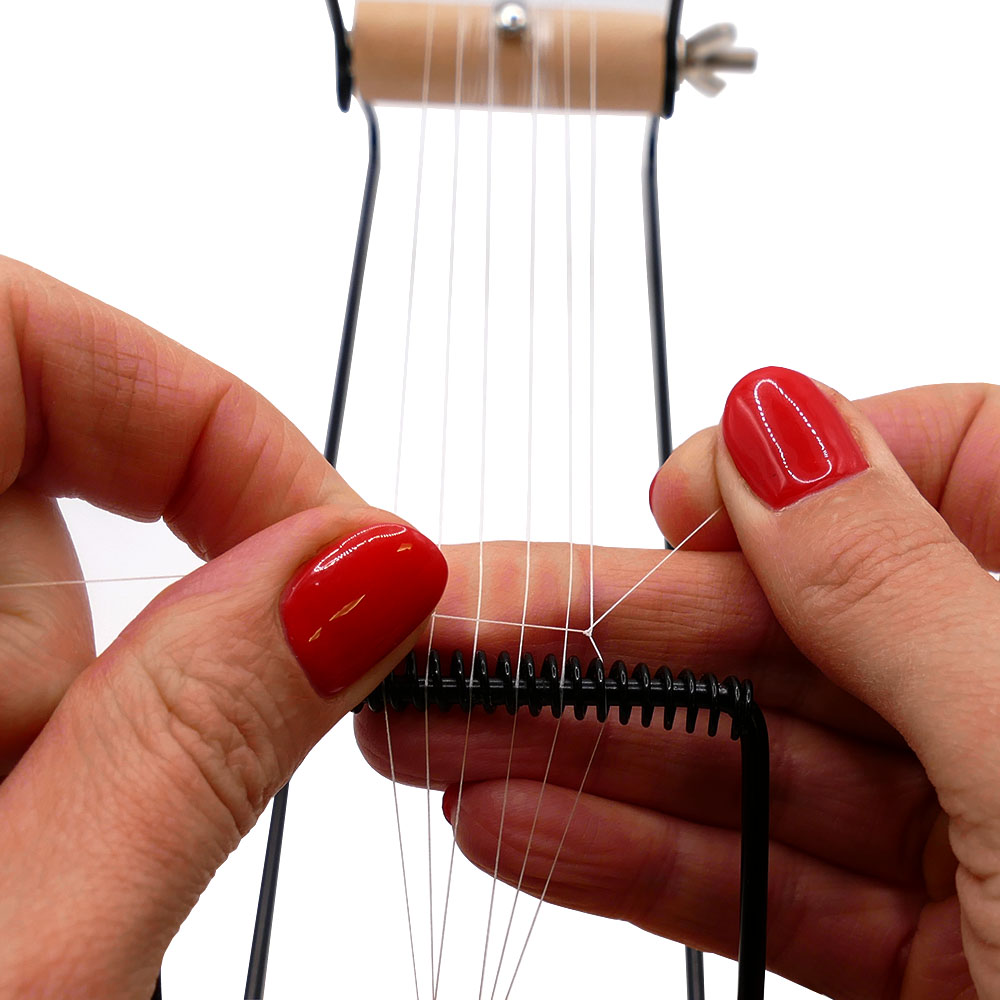

Cut a 2.5-metre length of thread and knot it to the right-hand tread. Leave a 20-cm tail end, as you will need that to finish your loom work at the end. Thread your needle to the longer end and prepare your beads.
We have used:
2 colours of 10-gram bags of size 8/0 Miyuki Seed Beads
3 colours of 4mm Faceted Czech Glass beads (packs of 50)
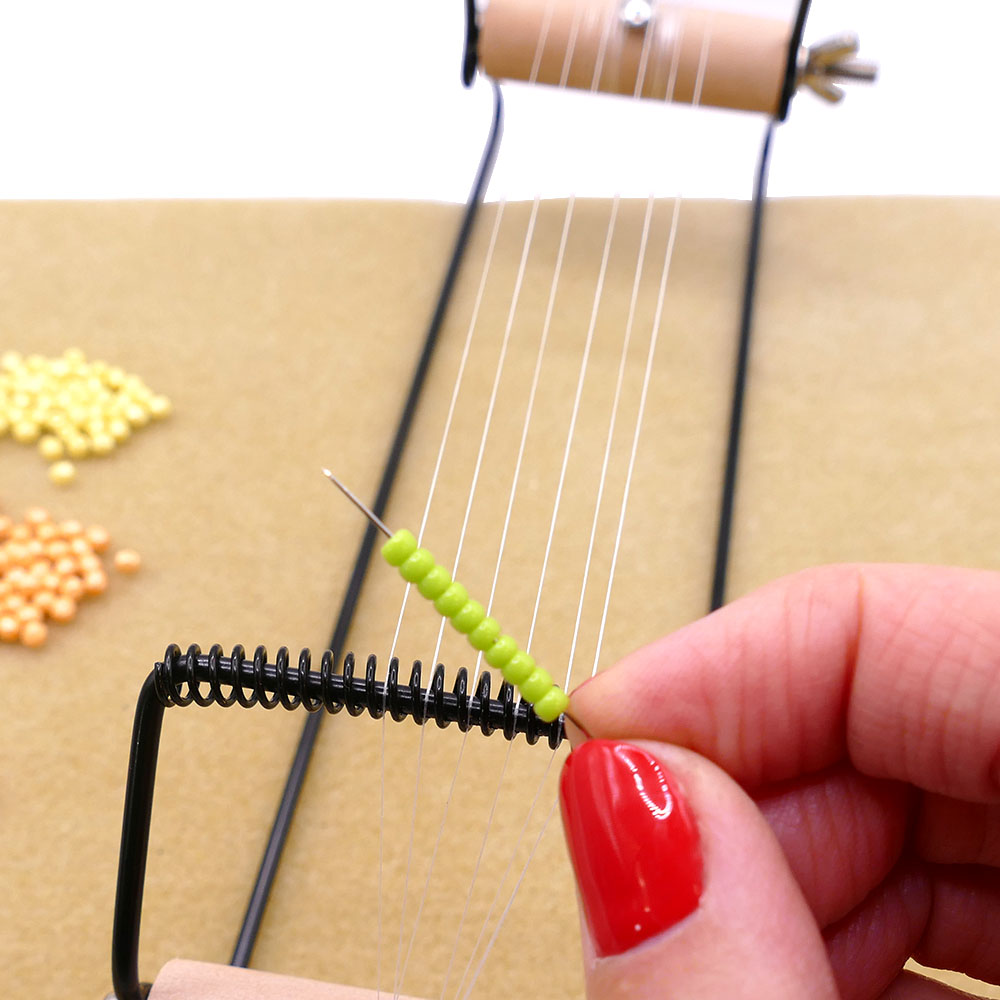
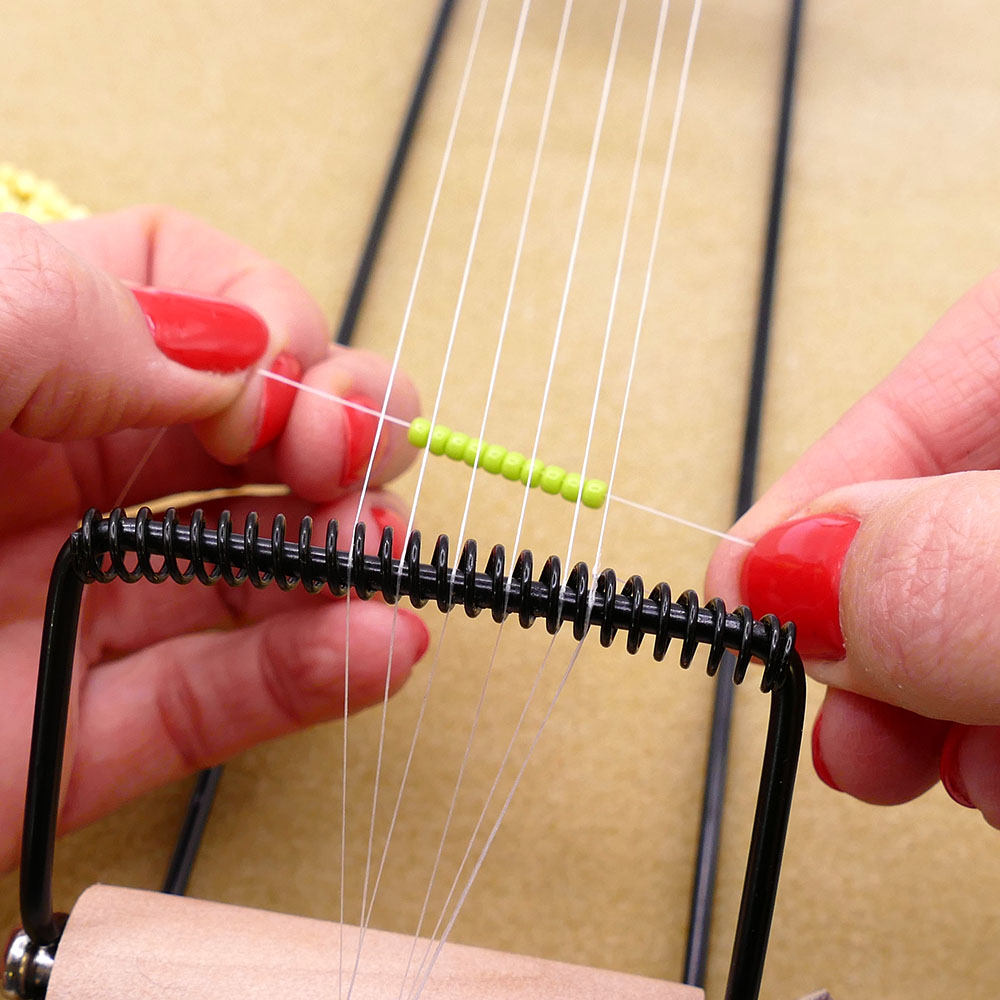
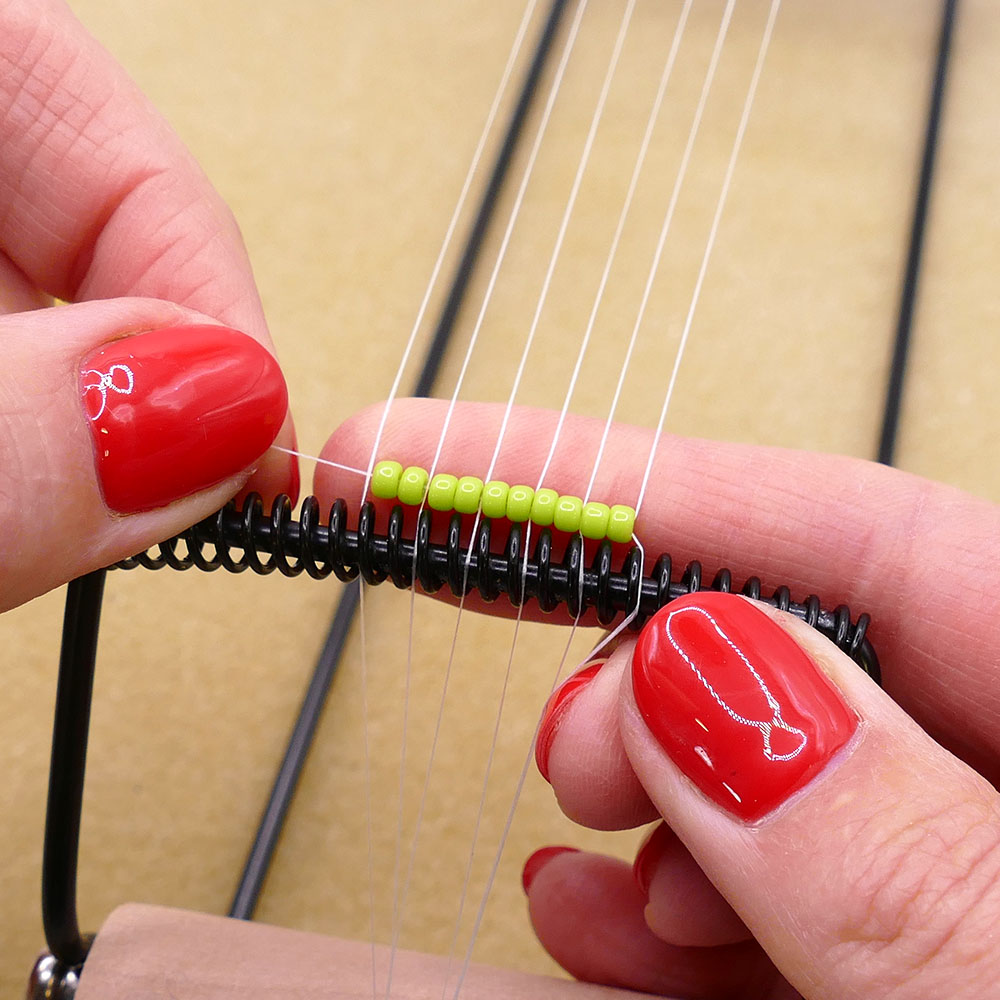
Pick up 10 seed beads and pass them UNDER and to the left. Use your finger to hold the beads in place, spacing them 2 per gap.
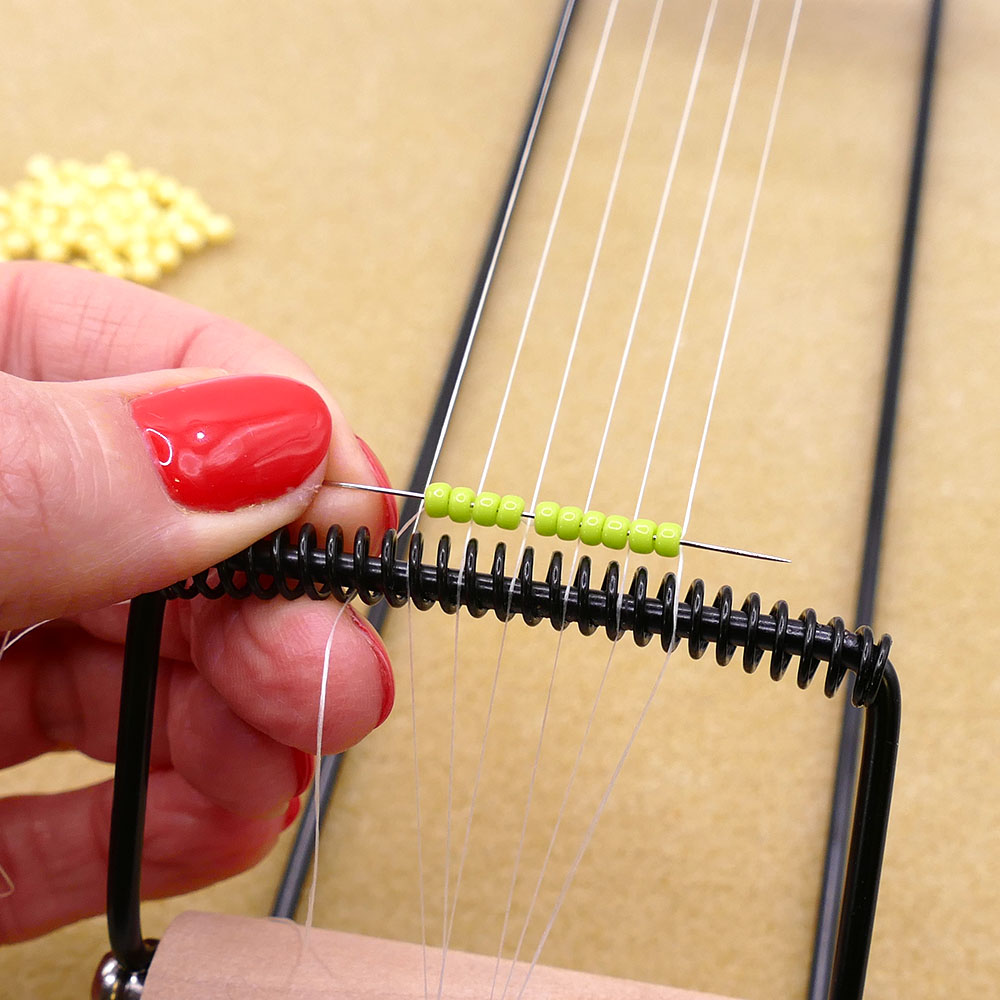
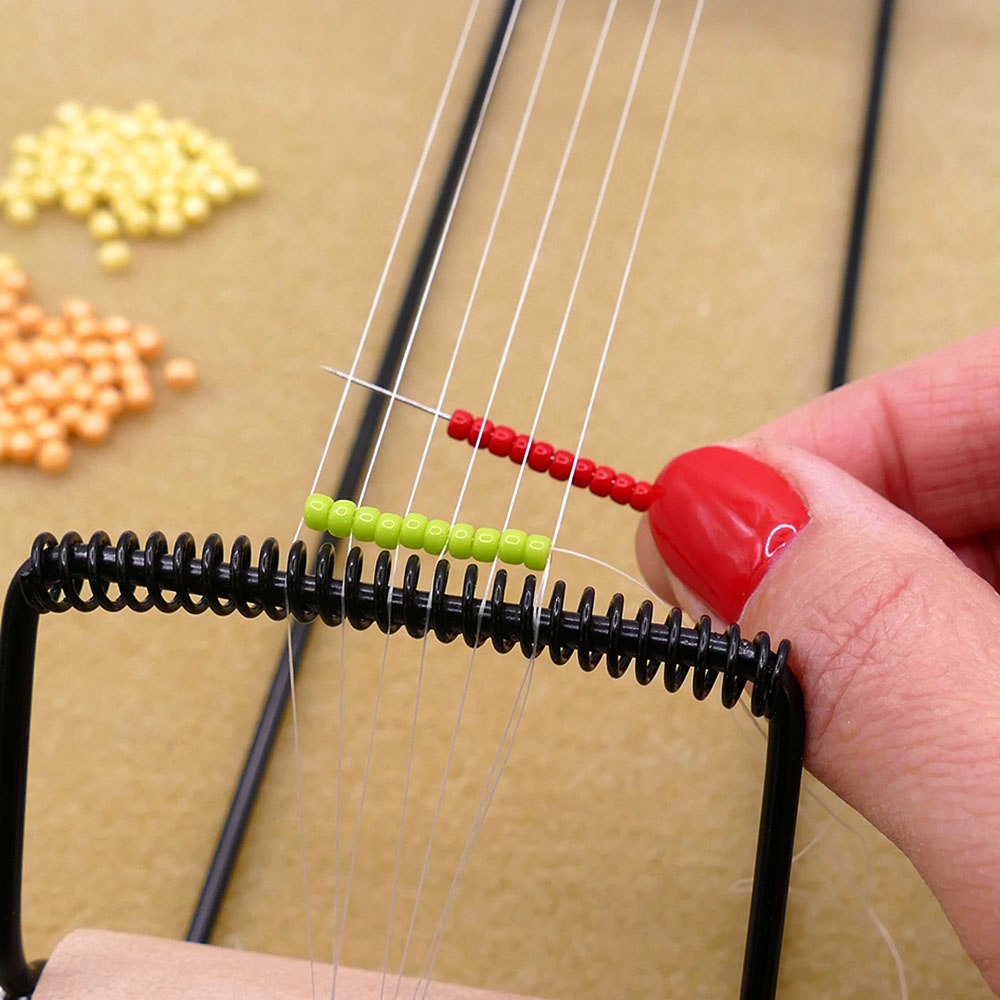
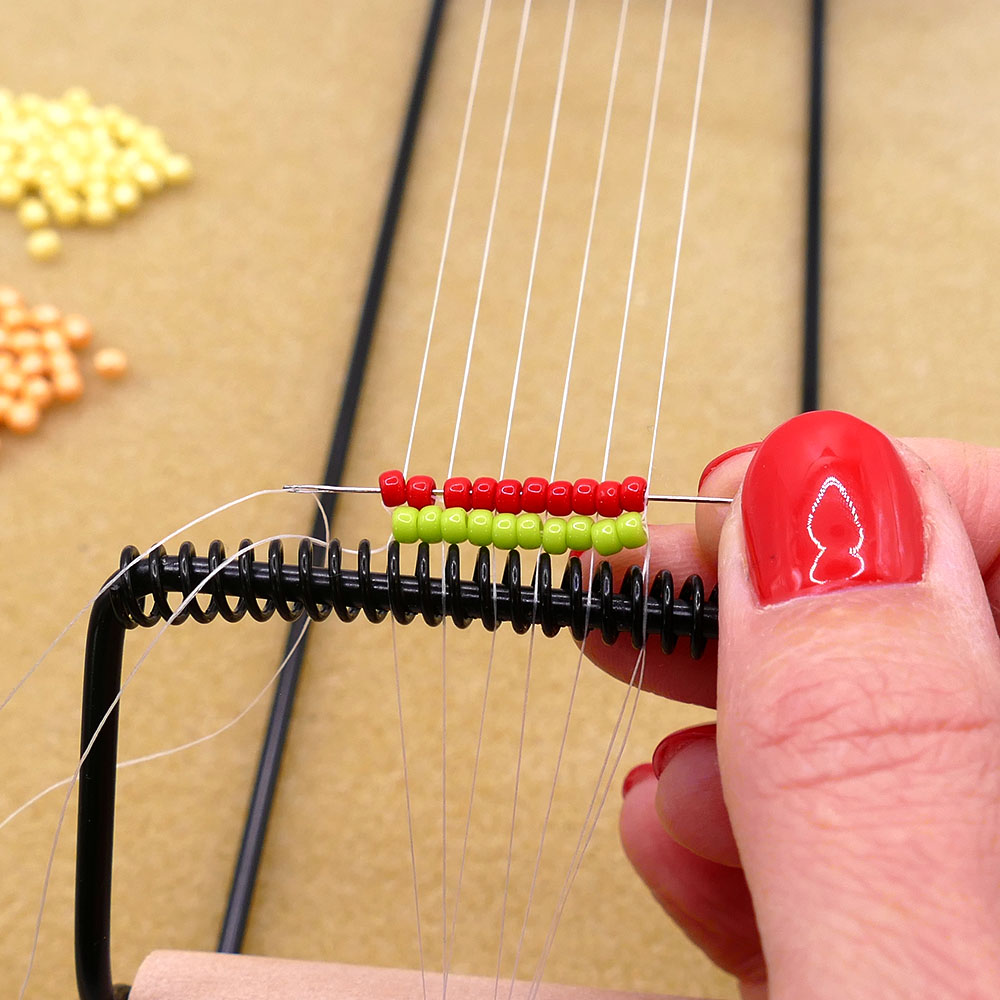
Pass the needle LEFT to RIGHT back through the beads, ensuring that it passes OVER the top of the loom threads.
Now repeat the process.
Pick up 10 of your next colour, pass them UNDER, and space them TWO per gap. Now pass the needle back through—from LEFT to RIGHT—making sure the needle is passing OVER the top of the loom threads. By doing this, you are creating a complete and secure loop for each row.

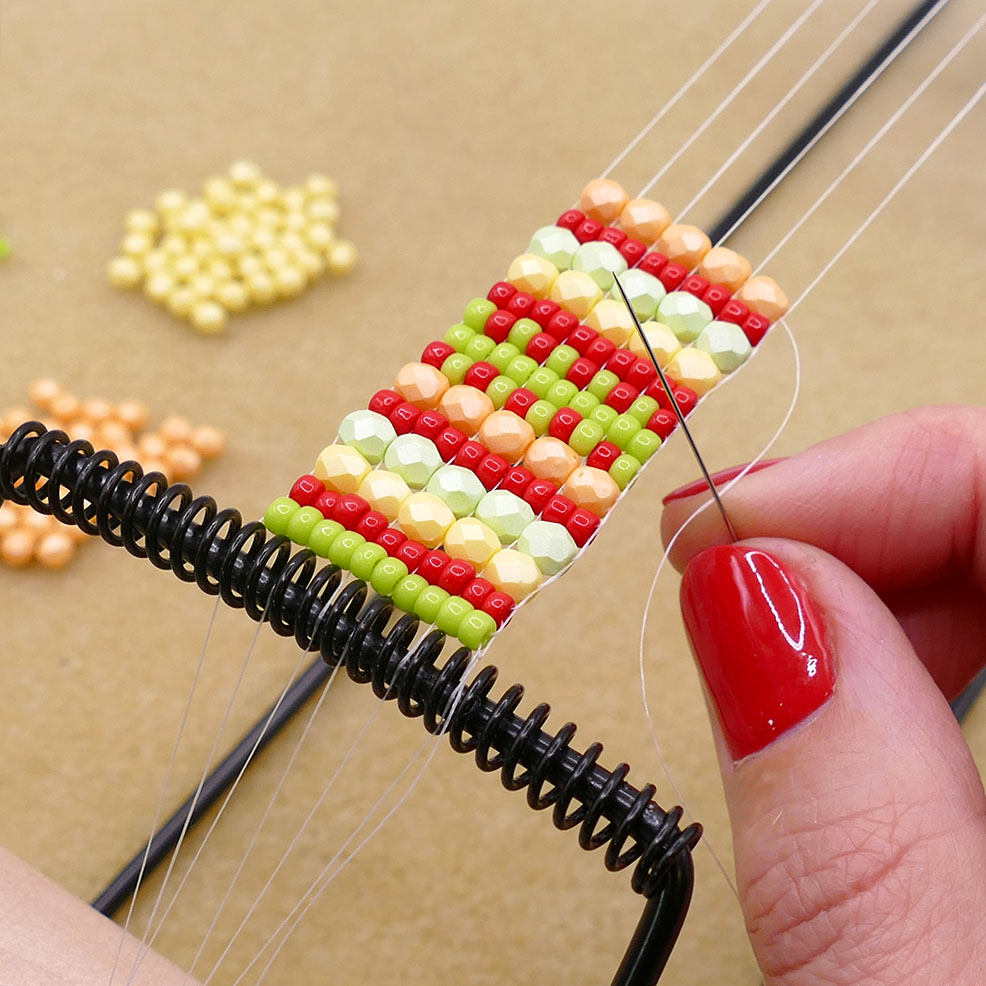
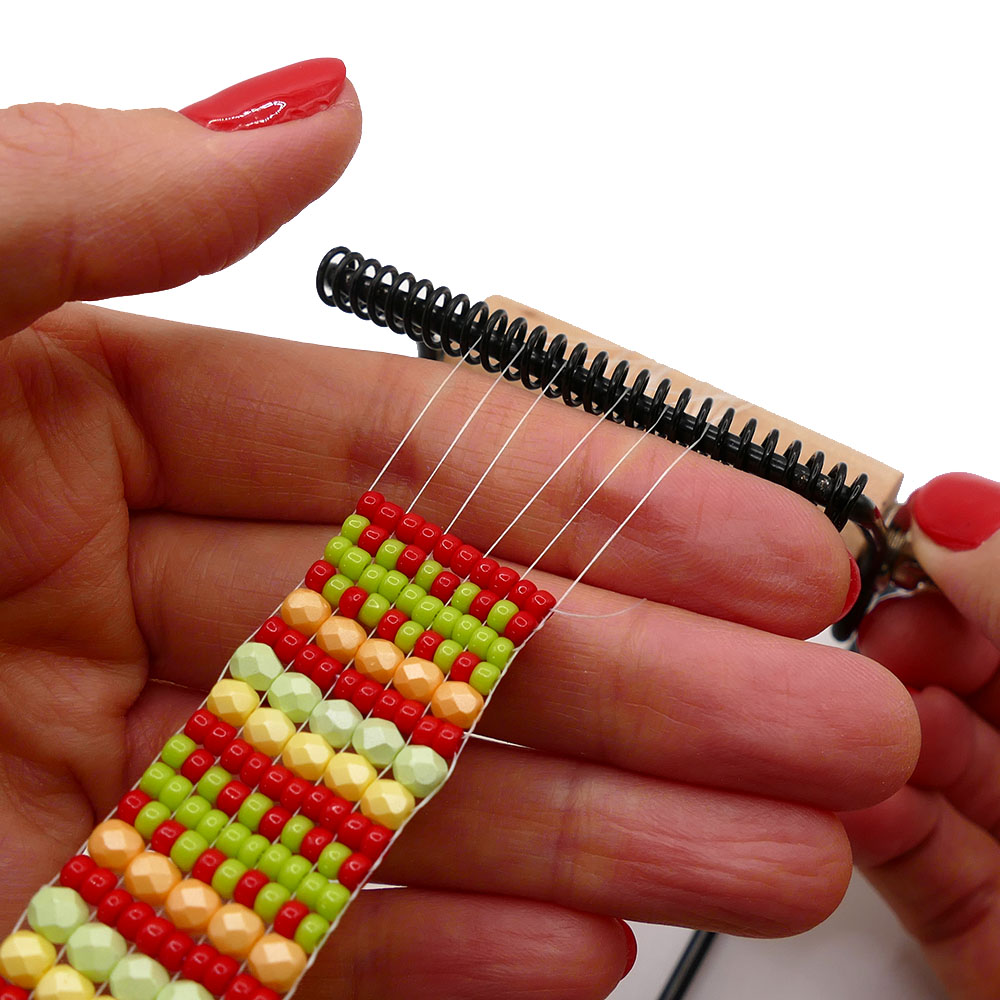
Repeat this process to create your design. The design is entirely up to you. For best results, design an inch of pattern, then repeat it. This will give continuity to your design.
When you reach the end of the loom, unwind approximately an inch of thread. Tighten your beadwork at the opposite end to re-create tension.
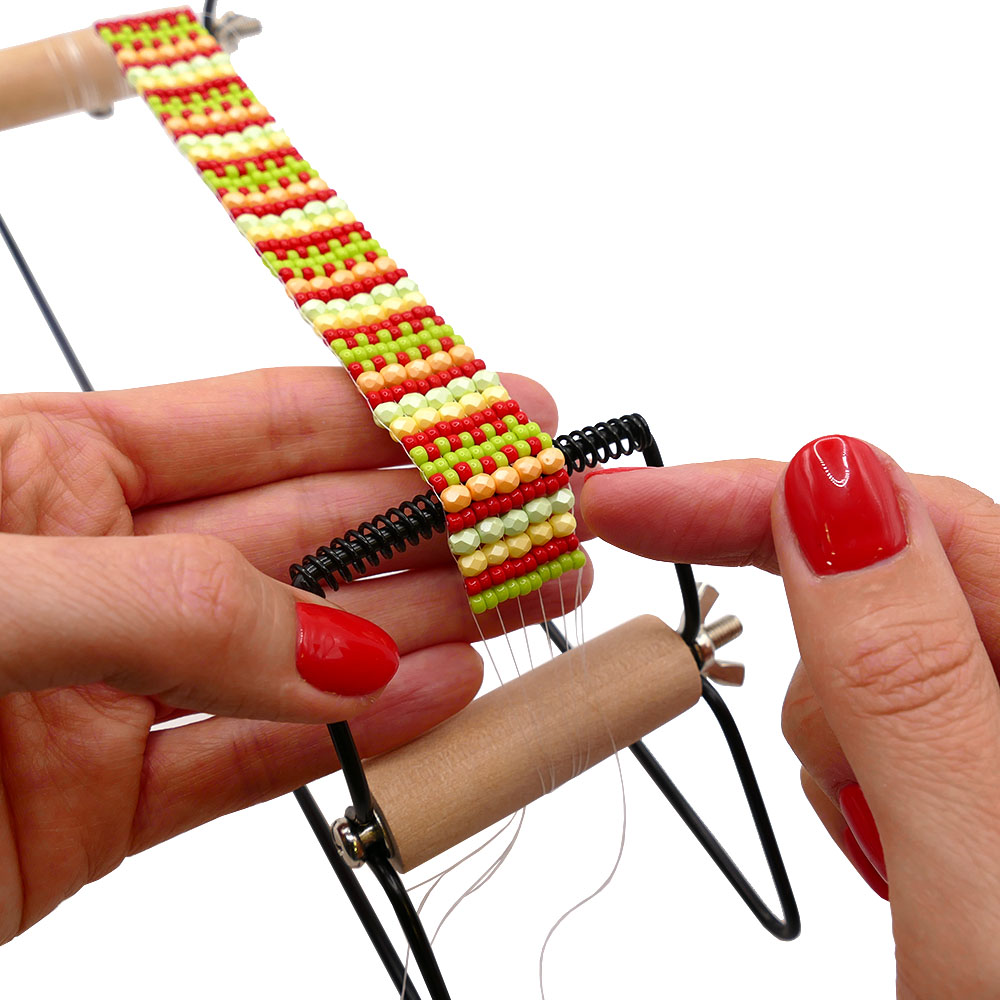
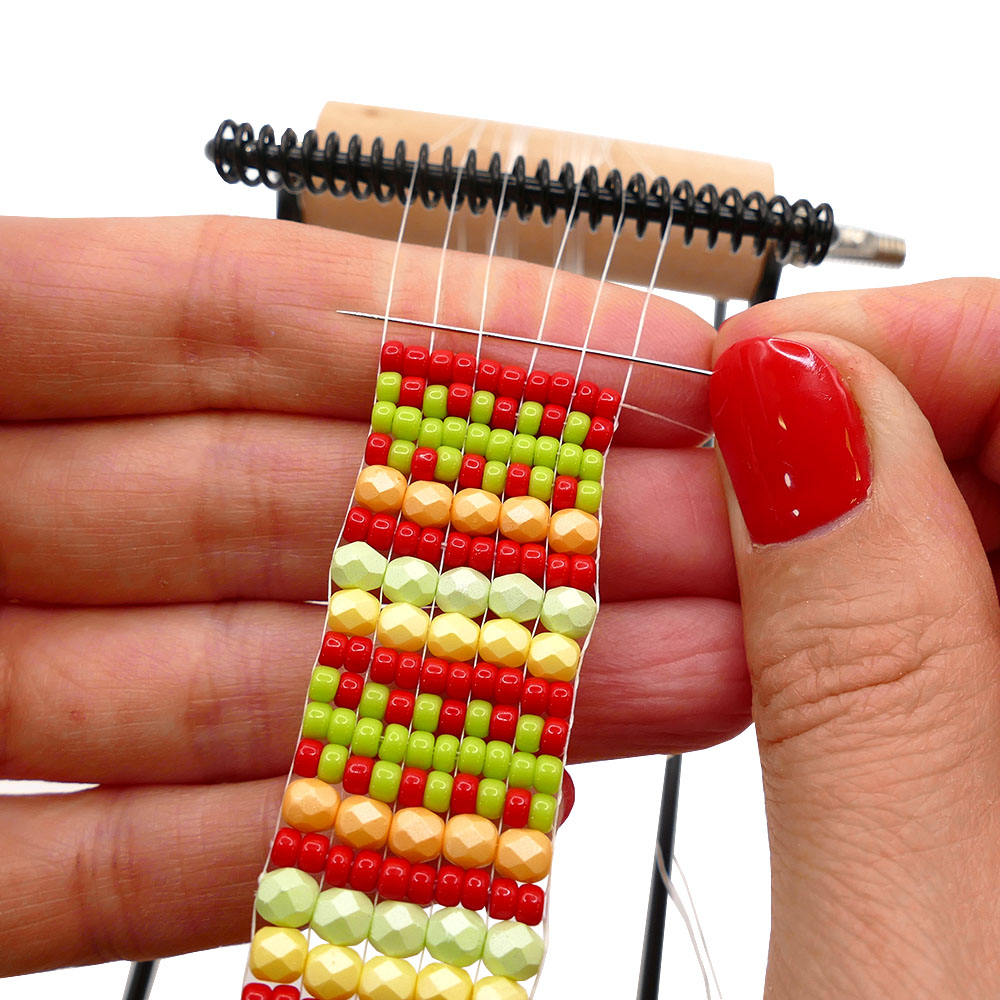

It is now time to secure your beadwork.
Without adding beads and moving from right to left, pass your needle and thread OVER, UNDER, OVER and UNDER.
Pass the thread back the opposite way, moving left to right. OVER, UNDER, OVER and UNDER.
Repeat this process until you have created approximately 5mm of woven threads.
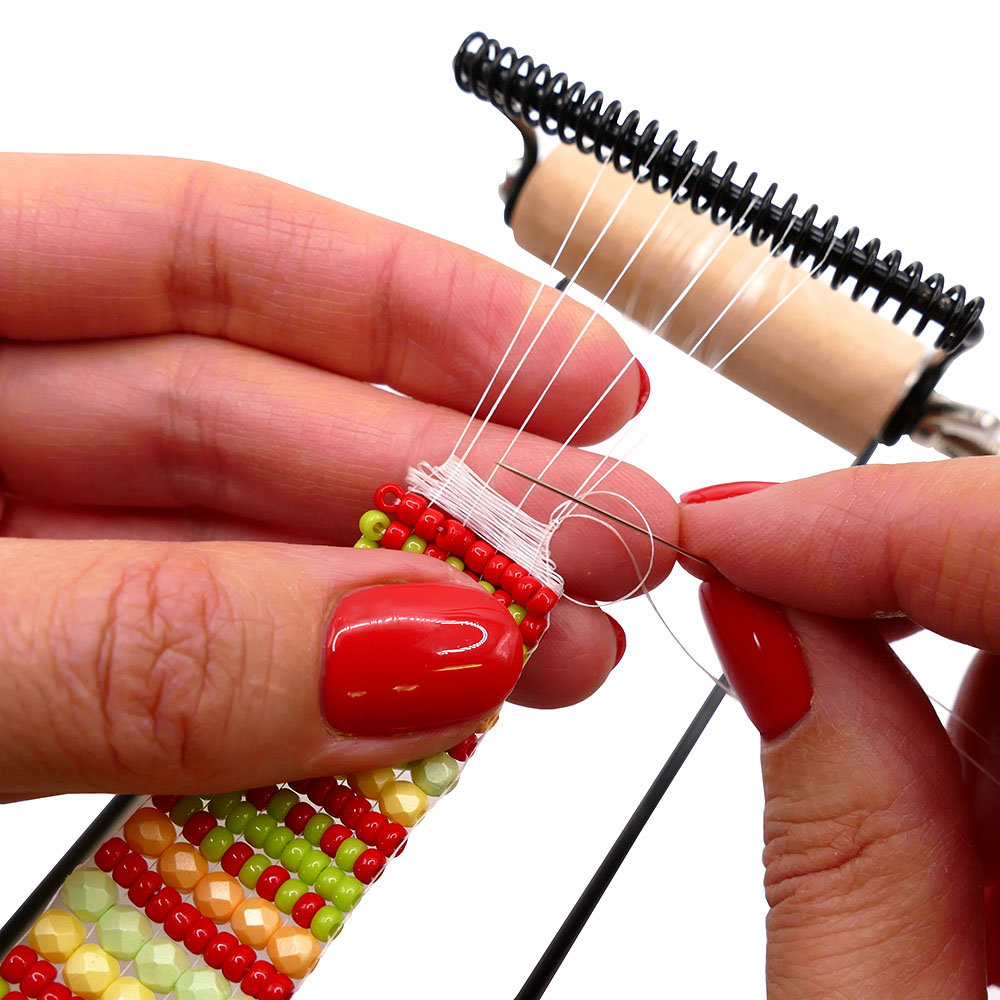
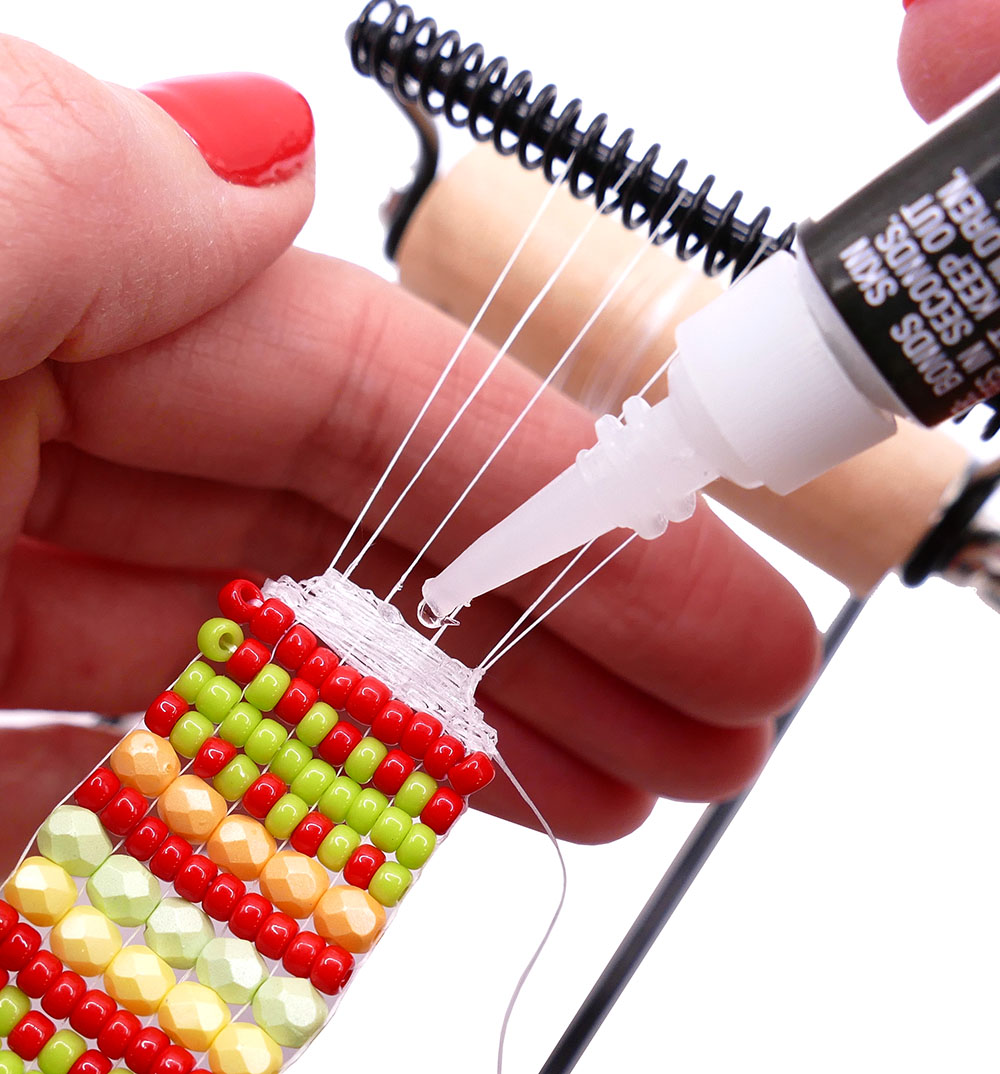
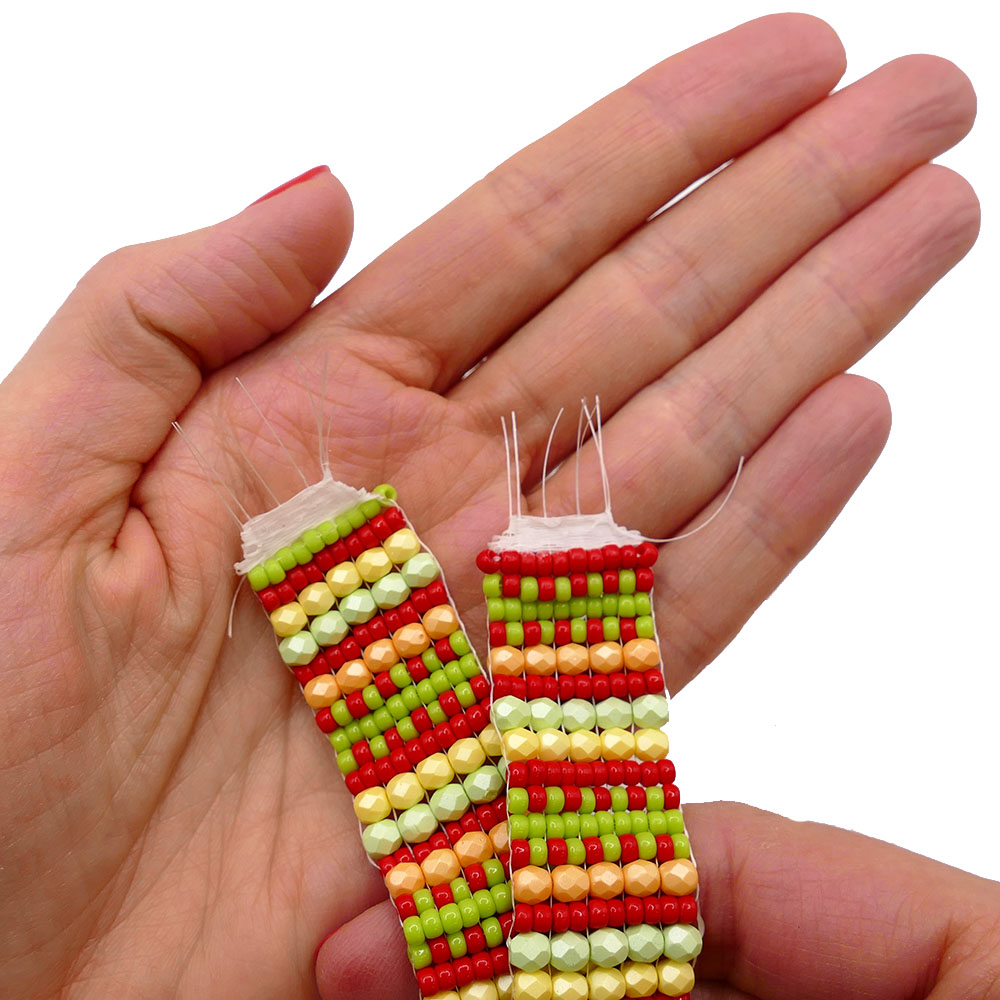
Tie a knot to secure your threads and apply glue to the exposed weave. Cover the surface area entirely and allow to dry for 30 minutes.
Once dry, repeat this process on the opposite side, using the 20mm tail end created at the beginning.
Now that both ends are glued and dry, use scissors to release the loomwork from the loom.
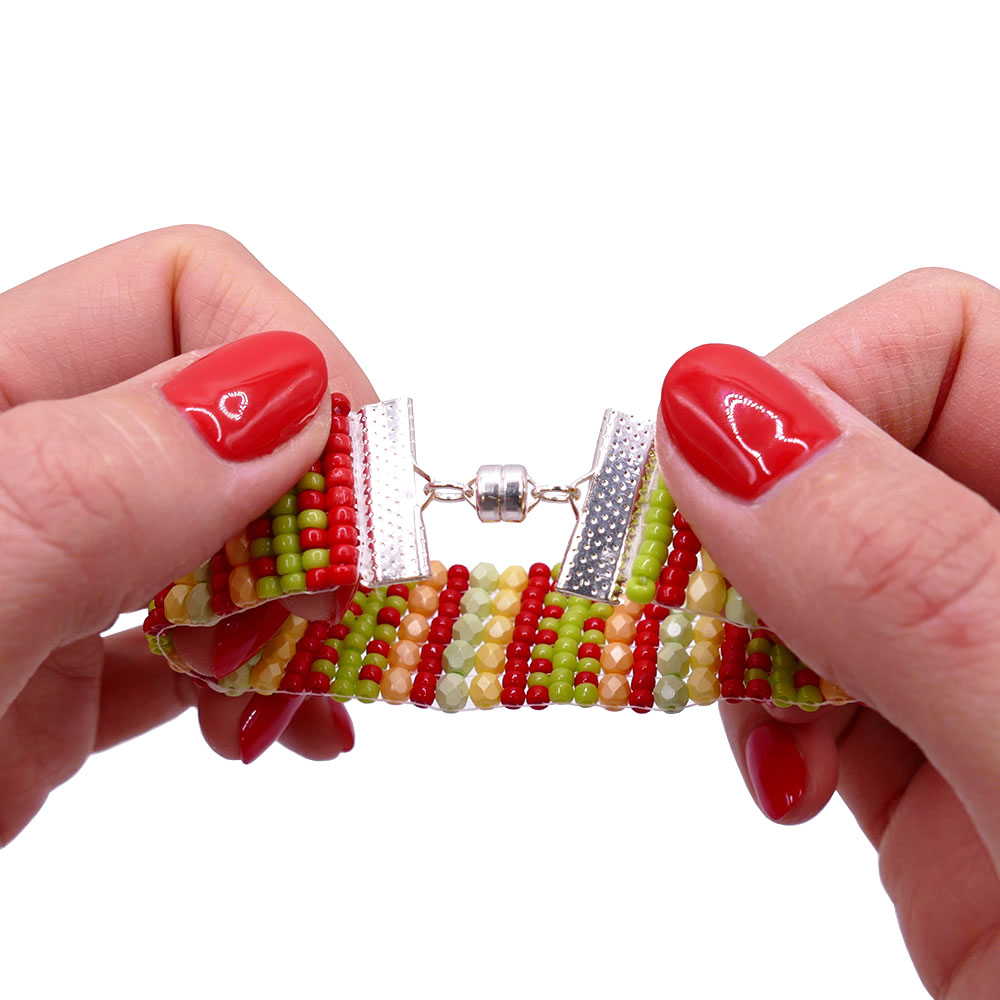
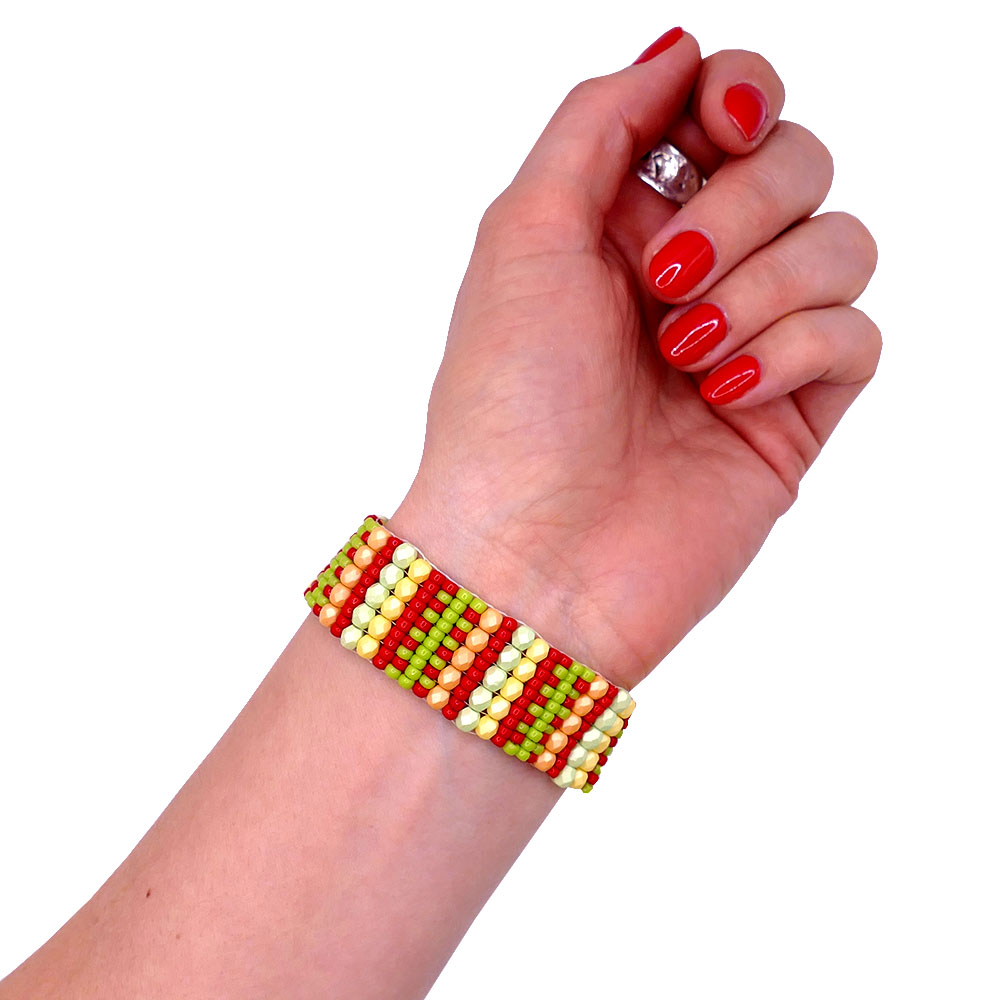
To finish, line 20mm ribbon clamps with a small amount of glue and attach to each end.
We have used 5mm Jump Rings and a magnetic clasp to complete the piece.
Comments are closed here.