
How To Make a Purple Passion Wedding Bracelet with Swarovski Crystals
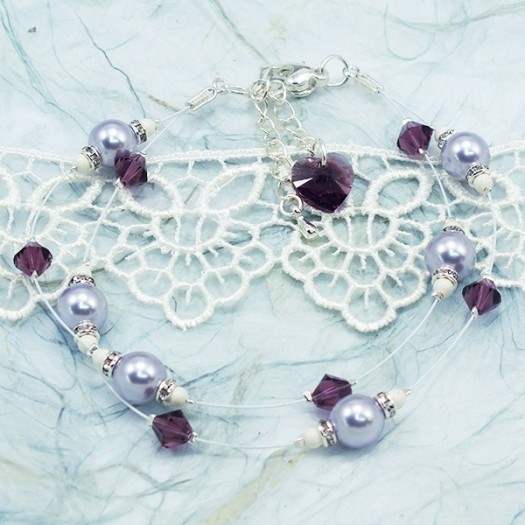
Description
Create this simple but beautiful Wire bracelet, perfect for the bride or the bridesmaids, it is made up of Swarovski crystals and pearls, Diamante Rhondells, Silver rose colour Beadalon wire, and silver plated findings.
Techniques
Crimping, opening and closing jump rings
Tools
Two flat nose pliers or chain nose pliers, crimping pliers (optional) and wire cutters.
Level
Beginners
Follow step-by-step instructions
Step 1
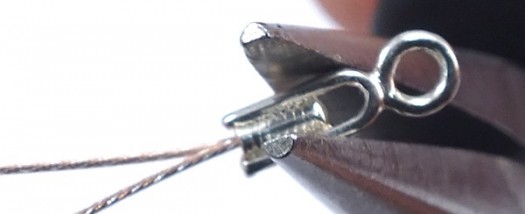
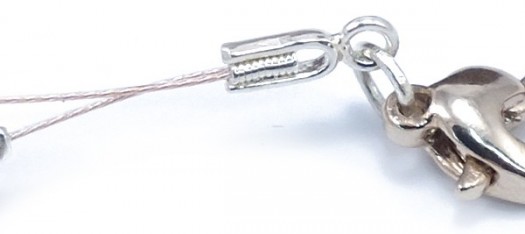
Cut two pieces of beadalon, thread both ends into one of the EZ crimp ends and squeeze either side of the crimp with flat nose pliers, or crimping pliers
Step 2
Using one length of wire thread on a crimp, squeeze it flat about 1.5cm down from the end, place on your first section of beads, then add another crimp.
Step 3
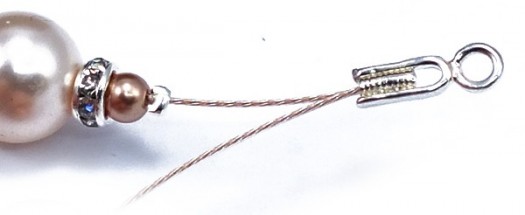
Add on another crimp, with a space in-between, (don’t make this too big), add your bead, then another crimp. Alternate the beads, so you add the pearls then the bicone.
Step 4
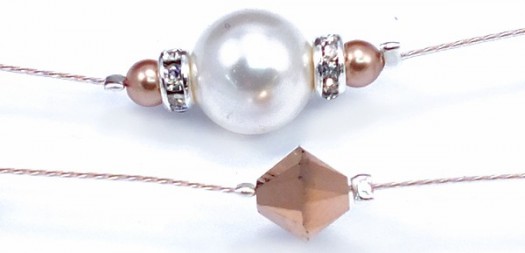
You should have 6 sections on one wire, repeat this now on the other wire. If you started with the pearls first, then start with the bicone.
Step 5
When you have reached the end, cut the wire so it is even on both sides, and add on the EZ crimp end.
Step 6
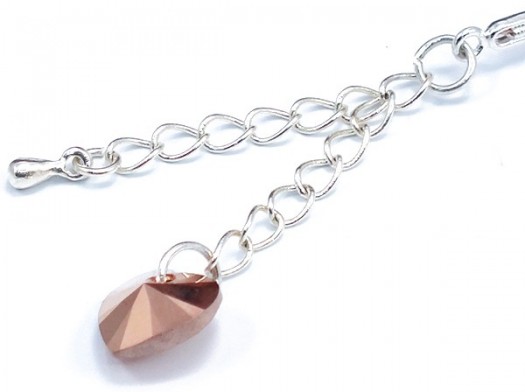
Find the centre link of the extension chain, attach a jump ring to it so it is double and then to one side of the bracelet, attach the trigger clasp to the other with a jump ring.
Step 7
Thread a jump ring through the Swarovski heart and onto the end of the extension chain without the teardrop.
Tips & Advice
Please make sure you don’t make the gaps too big after each section of beads, as the bracelet will end up too big for you to wear, these types of bracelet need to be slightly smaller than you think, as you have the extension chain to add length if you need it.
Make sure the beads on one strand of wire alternate with the other, lay the wires flat on your beading matt and keep checking as you go along, and REMEMBER once you have flattened a crimp you can’t take it off, so check the beads are correct first.

Get the Kit
Comments are closed here.