
Pearl Knotting Technique

The benefits of pearl knotting.
Antique pearls can be costly and knotting prevents the bead and the hole from getting damaged.
Once knotted, Pearls hang and move more elegantly than they would strung onto traditional beading wire.
If your pearls were to brake you wouldn’t lose them. Knotting the string keeps each bead securely attached.
Knotting pearls is an age old classic method that adds elegance and class to any traditional style jewellery. This method can be used to string any number of beads from glass to semi-precious stone.
Silk is traditionally used and it would be our recommendation, but you can use an alternative so long as it is:
a) Thin enough to fit through your pearls.
b) strong enough that it won’t break when pulled tightly.
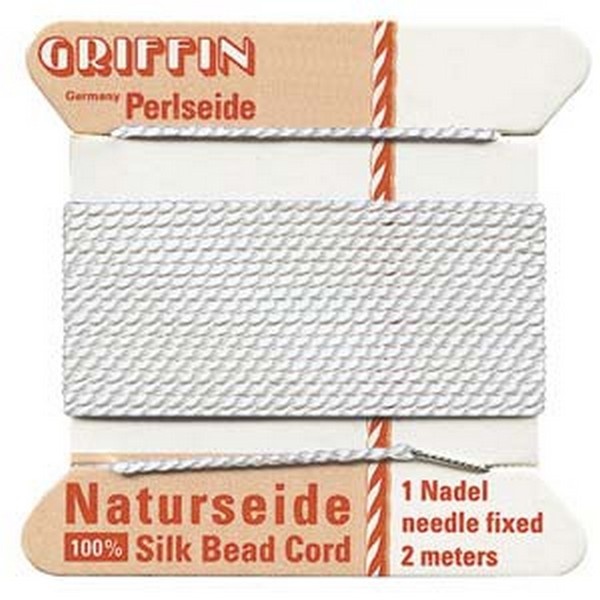
Griffin have cards of silk in two sizes (We have used a size 4) which have a flexible needle attached; a great aid for threading your pearls with ease.
A needle isn’t a must, you can thread the pearls by hand but it will take you longer and increase the risk of your silk fraying at the ends
There are two tools you can use to string pearls:


Beadsmith Tweezers (Bead And Pearl Knotting)
Both items will achieve the same results and it is personal preference as to which you find easier, but today we will be demonstrating how to use both.
Long or short?
If you wish to make a continuous length of pearls without clasps make sure to leave enough thread at one end before tying your first knot. This will enable you to tie the ends together once you are happy with the length.
For shorter length necklaces, firstly secure an end fastener to the end of the silk without the needle. We recommend using a calotte with a little knot in the centre. You can even add a tiny blob of glue to the inside of the calotte for extra grip.
OK, let’s get pearl knotting!
TWEEZER METHOD:
Make a loose knot with the loop facing to your right and the knot facing to your left then enter the loop from the top coming out underneath.
Grab the silk with your tweezers at the point where you want the knot to be.
Whilst holding the tweezers in place slowly pull on the end of silk moving the loop close to the tweezers.
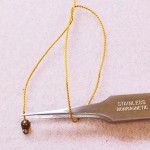
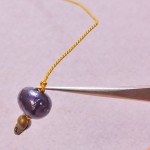
When the knot is in place pull tightly, remove the tweezers and then place the tweezers above the knot and pull down on the silk ensuring the knot is snug to the calotte.
Thread a pearl onto the silk and repeat steps to create knots after every pearl. Continue until you have made a full necklace or bracelet.
KNOTTING TOOL
Attach a calotte to one end of the silk just the same as you would have if you were using the tweezers method.
Make a loose knot again with the loop facing to your right and the knot facing to your left.
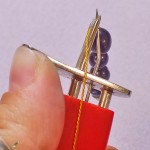
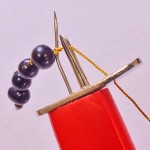
Place the awl part of the tool underneath and up through the loop and pull tightly on the end of the silk so that the pearls sit close to the awl.
Now pull the end of the silk up through the ‘v’ part of the tool and push the metal bar up along the awl until the knot is pushed off the awl.
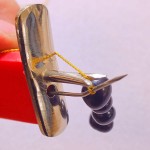
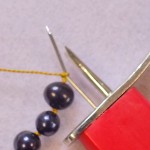
Keep pulling the silk tightly through the ‘v’ part of the tool and this will ensure that the knot is tight and secure. Carry on knotting after every pearl.
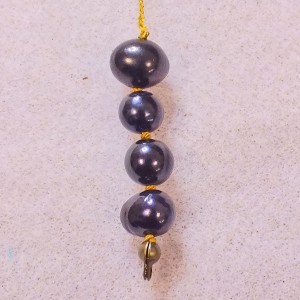
We would suggest trying both methods to see which you find easiest. Personally we found the tweezers easiest as i enabled us to control the knot and get a tighter finish.
Once you have strung your pearls attach another calotte at the end of the silk and using jump rings attach a clasp of your choice.
Or …if you have a longer necklace, simply tie the ends together in one final knot. Add a tiny blob of clear drying jewellery glue and trim off any excess thread.

In House Designer
Comments are closed here.