
How To Make Your Own DIY Cufflinks
What Are Cufflinks?
Cufflinks are small, decorative fasteners that are worn on the cuffs of dress shirts. They are often used to fasten French cuffs, which are a type of cuff that does not have a button closure. Cufflinks are typically made from a variety of materials, such as metal, wood, and stone, and they can come in a wide range of styles and designs.
Making Your Own Cufflinks
Making your own cufflinks can be a fun and rewarding DIY project. It allows you to create custom accessories that are unique to your personal style, and it can also be a great way to save money compared to buying pre-made cufflinks. Additionally, making your own cufflinks can be a great way to upcycle materials that you may have lying around, such as buttons, beads, or even scrap wood.
Overview of the different methods
There are many different methods for making DIY cufflinks, and each method has its own unique advantages and disadvantages. Some popular methods include button cufflinks, polymer clay cufflinks, wood cufflinks, metal stamping cufflinks, beaded cufflinks, and more. In this article, we’ll explore some of these methods in more detail and provide step-by-step instructions for making your own custom cufflinks.
Materials You May Need
The materials you’ll need will depend on the method you choose, but some common materials include:
- Buttons: Buttons can be used to make button cufflinks, which are one of the easiest methods for making DIY cufflinks. You can use any type of button, from vintage to modern, to create a unique look.
- Polymer clay: Polymer clay (such as Fimo) can be used to make colourful and unique cufflinks. You can mould the clay into any shape or design you like, and then bake it in the oven to harden it.
- Wood: Wood cufflinks can be made from scrap wood or purchased wood blanks. You can carve or sand the wood into any shape or design you like, and then finish it with paint or stain.
- Metal stamping blanks: Metal stamping blanks are flat pieces of metal that can be stamped with designs or text using special tools. You can create custom designs or use pre-made stamps to make unique cufflinks.
- Beads: Beaded cufflinks are a great way to add colour and texture to your outfit. You can use any type of bead, from glass to plastic, to create a unique design.
- Jewellery glue: Jewellery glue is used to attach the cufflink backs to your finished cufflinks.
- Cufflink blanks: Cufflink blanks are the small fasteners that attach your cufflinks to your shirt.
Tools needed
Again, the tools you’ll need will depend on the method you choose, but some common tools include:
- Scissors
- Jewellery Pliers
- Wire cutters
- Sandpaper
- Paint or markers
- Oven (if using polymer clay)
- Stamping tools (if using metal stamping blanks)
Method 1: Button Cufflinks

Step-by-step instructions
- Choose two buttons that are the same size and shape.
- Use pliers to remove the shanks from the buttons, leaving only the flat backs.
- Use sandpaper to smooth any rough edges on the backs of the buttons.
- Apply a small amount of epoxy or glue to the flat backs of the buttons.
- Attach the cufflink backs to the backs of the buttons.
- Allow the glue to dry completely before wearing your new button cufflinks.
Tips and variations
- You can mix and match different types of buttons to create a unique look.
- Try using buttons with interesting textures or patterns for a more eye-catching design.
- If you don’t have cufflink backs, you can use earring posts or even paperclips as a makeshift alternative.
Method 2: Polymer Clay Cufflinks

Step-by-step instructions
- Choose a colour of polymer clay and mould it into your desired shape and size.
- Use a toothpick or small tool to create any designs or patterns on the surface of the clay.
- Bake the clay in the oven according to the instructions on the package.
- Allow the clay to cool completely before attaching the cufflink backs.
- Apply a small amount of epoxy or glue to the backs of the clay pieces.
- Attach the cufflink backs to the backs of the clay pieces.
- Allow the glue to dry completely before wearing your new polymer clay cufflinks.
Tips and variations
- Polymer clay comes in a wide range of colours, so you can create cufflinks to match any outfit.
- You can create any shape or design you like with polymer clay, from geometric shapes to animal motifs.
- Experiment with different textures and finishes, such as metallic or glittery clay, to add some extra sparkle to your cufflinks.
Method 3: Wood Cufflinks

Step-by-step instructions
- Choose a piece of scrap wood or purchase a wood blank in your desired size and shape.
- Use a saw, sandpaper, or a carving tool to shape the wood into your desired design.
- Sand the wood smooth and finish it with paint or stain.
- Allow the paint or stain to dry completely before attaching the cufflink backs.
- Apply a small amount of epoxy or glue to the backs of the wood pieces.
- Attach the cufflink backs to the backs of the wood pieces.
- Allow the glue to dry completely before wearing your new wood cufflinks.
Tips and variations
- You can use different types of wood for a different look, such as light-coloured birch or dark mahogany.
- Experiment with different shapes and designs, such as round or square cufflinks, or carved designs.
- You can also add a personal touch by engraving initials or a message into the wood.
Method 4: Metal Stamp Cufflinks

Step-by-step instructions
- Choose a metal stamping blank in your desired shape and size.
- Use metal stamping tools to create a design or message on the surface of the blank.
- Use sandpaper to smooth any rough edges on the blank.
- Apply a small amount of epoxy or E6000 glue to the back of the blank.
- Attach the cufflink backs to the back of the blank.
- Allow the glue to dry completely before wearing your new metal stamping cufflinks.
Tips and variations
- You can create custom designs or use pre-made stamps to create your cufflinks.
- Experiment with different metals, such as copper or brass, for a unique look.
- You can also add some colour by using enamel paint to fill in the stamped design.
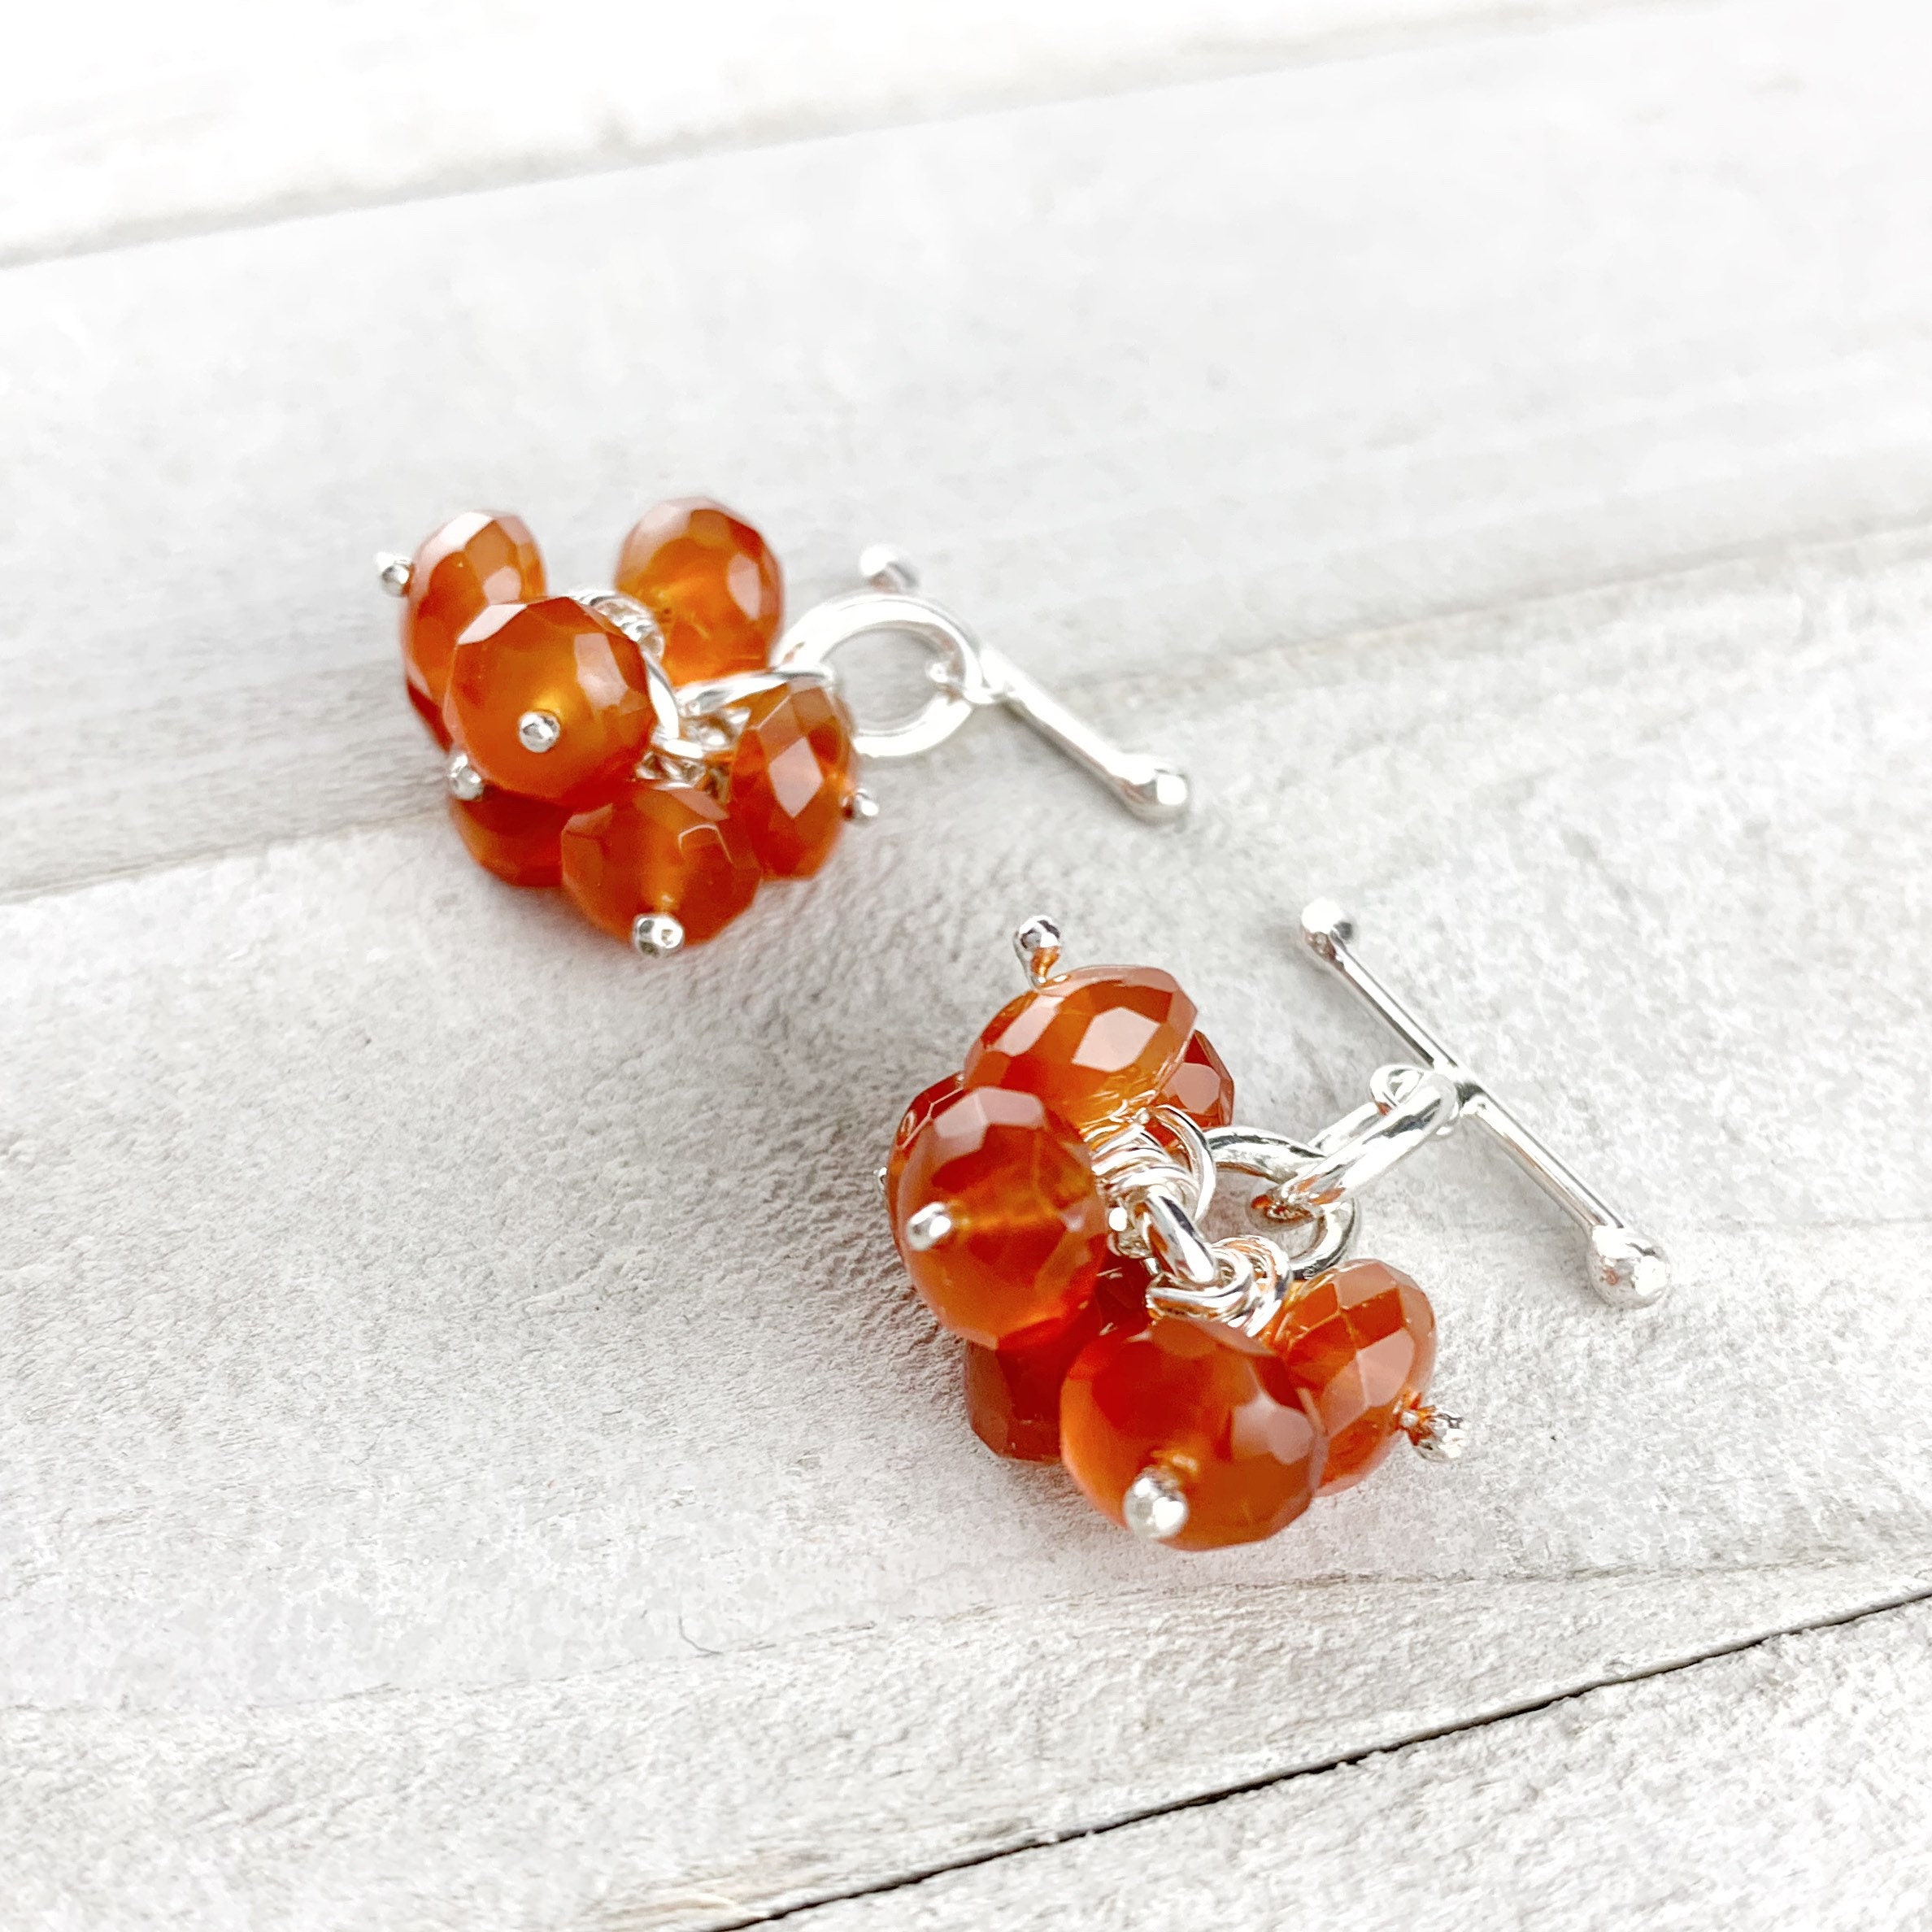
Method 5: Beaded Cufflinks
Step-by-step instructions
- Choose a selection of beads in your desired colours and sizes.
- Thread the beads onto a sturdy wire or beading thread, arranging them in your desired pattern.
- Use pliers to create a loop at each end of the wire or thread.
- Attach the cufflink backs to the loops using jump rings or small pieces of wire.
- Use the pliers to secure the jump rings or wire.
- Allow the cufflinks to dry completely before wearing them.
Tips and variations
- You can use a variety of beads, from small seed beads to larger gemstones, to create different looks.
- Experiment with different patterns and colour combinations to match your outfit or style.
- You can also add some extra embellishments, such as charms or tassels, to your beaded cufflinks.
By following these five methods, you can create a unique and personalised set of cufflinks for any occasion. Whether you prefer the classic look of button cufflinks or the colourful pop of beaded cufflinks, there is a DIY option that is perfect for you. With a little creativity and some basic crafting supplies, you can make a stylish statement and impress your friends with your very own handmade cufflinks!
Comments are closed here.