
How To Make Cute Bows with Swarovski Beads

Using Swarovski beads & pearls
I love to use Swarovski beads to create dazzling necklaces, which are perfect for the party season. So with this in mind I decided to design something cute and sparkly, that would accompany both daytime and night time looks.
I wanted this necklace to have a vintage style, so I chose muted and subtle tones to achieve this.

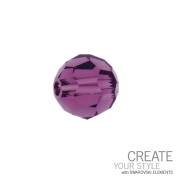

Follow Step-by-Step using Swarovski Beads
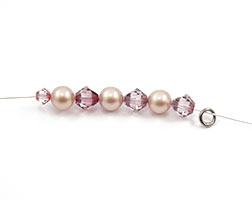
STEP 1
Start by taking your piece of 0.4mm Craft Wire and thread on a 4mm Bicone, a 6mm Pearl, a 6mm Bicone, a 6mm Pearl, a 6mm Bicone, a 6mm Pearl and then a 5mm closed ring.
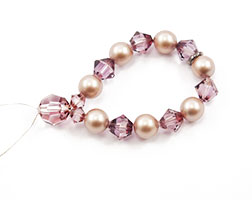
STEP 2
Next alternately thread on four more 6mm Pearls and three more 6mm Bicones, then another 4mm bicone to finish the first loop. Now bring the 2 ends of wire together and thread them both through an 8mm Swarovski Faceted Round Crystal and pull tight.
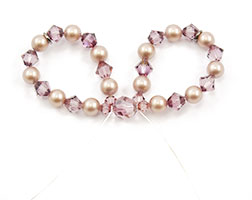
STEP 3
Using the longest piece of wire that comes out of the 8mm faceted bead, create the loop on the other side by repeating steps 1 and 2. Then thread the wire back though the 8mm faceted bead so that you should have one length of wire protruding either side of the centre bead.
STEP 4
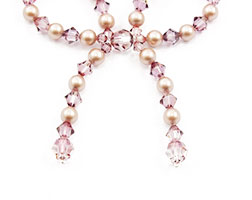
Next you need to create the tails of the bow. Do this by threading on a 4mm Bicone, then three pearls and three 6mm Bicones alternately, then an 8mm Faceted Round Bead. Crimp this in place to secure and repeat on the other tail. Trim off any excess wire.
STEP 5
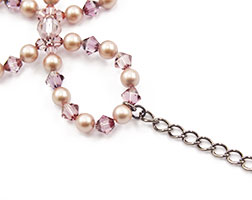
Attach your chain to the closed jump rings you threaded on whilst making the loops, with 5mm jump rings.
STEP 6
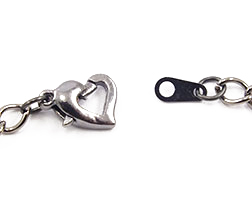
Finally decide on how long you would like your necklace to be and cut to length, then add the clasp at the back, with 5mm jump rings.
Bracelet
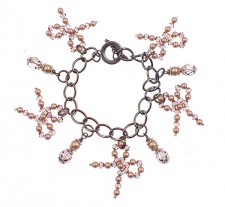
Make 5 bows in the same way, only using smaller beads. Attach these evenly along a charm bracelet with jump rings; Add extra decoration by using beads in the same colours and attach these using headpins.
Earrings
Make two matching bows, using 4mm beads and 0.3mm wire and then stick a flat stud to the back of the centre bead.
• Once the bow is secured, you may have to mould it into shape. This is so that both loops look the same and to make sure the bow sits flat to the neck.
• You could try using brighter colours to make a more eye-catching and bold piece.
• For an alternative look, try using different coloured chain and findings.

Holly Fawcett
In House Designer
Comments are closed here.