
How To Make Wirework Beaded Hair Combs with Swarovski Pearls

Using Swarovski Pearls & Bicones
For this jewellery making project we have used our favourite beads, the famous Swarovski Bicone Beads and Swarovski Pearls, to create a very beautiful hair comb. Perfect for parties, special occasions or just for when you fancy adding a bit of sparkle to your look!
This is suitable for beginner jewellery makers.
Follow step-by-step instructions
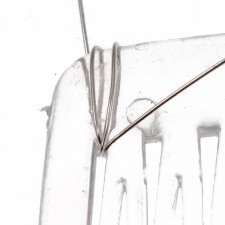
1. Cut a metre of wire, then leaving a tail of 2 inches, wrap the wire in-between the first and second tooth of the comb a couple of times.
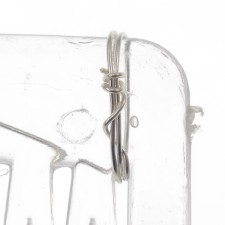
2. Now thread the 2 inch tail under the wraps that you made at the back of the comb and pull tight (use flat nose pliers if necessary) repeat this until it’s secure. Trim off any remaining wire that is left of the 2 inch tail.
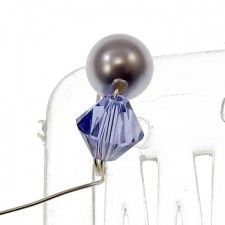
Now bring the long length of wire to the front, in-between the first and second tooth, and thread on a 6mm crystal then a 6mm pearl. And wind the wire round the back of the comb and back up to the front of the comb in between the 1st and 2nd tooth again.
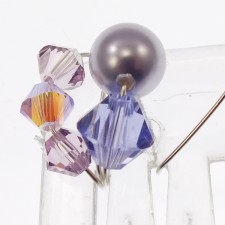
You should find that there is a bit of a gap to the right of these beads so thread on a few beads randomly that will fill that space and take the wire around the back and up through the gap between the 2nd and 3rd tooth and pull tight (use flat nose pliers if necessary). This should anchor the beads in place.
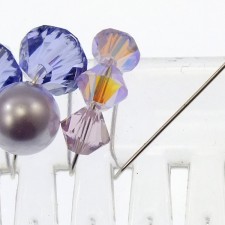
Now carry on wrapping and adding beads along the length of the hair comb. If you find that there are any gaps, do not worry about winding the wire backwards to fill these.

Once you get to the end of the comb add the last beads and wind the wire back up in between teeth 12 and 13. Pull tight, this should anchor the last beads in place.
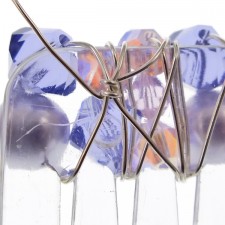
Now thread the end of the wire under a few of the wraps at the back of the comb a couple of times to secure and trim off the excess wire.

Comments are closed here.